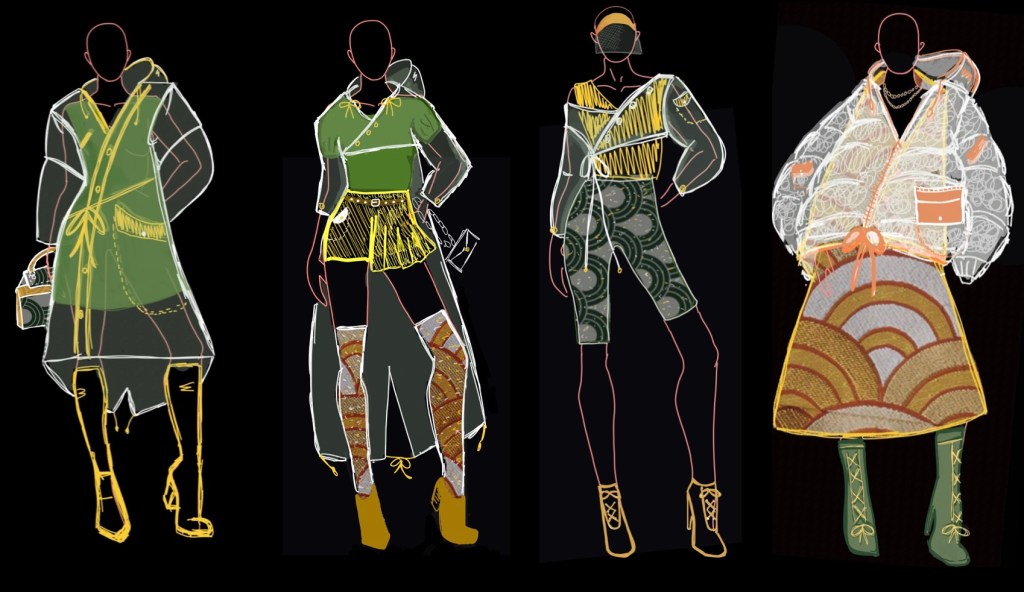
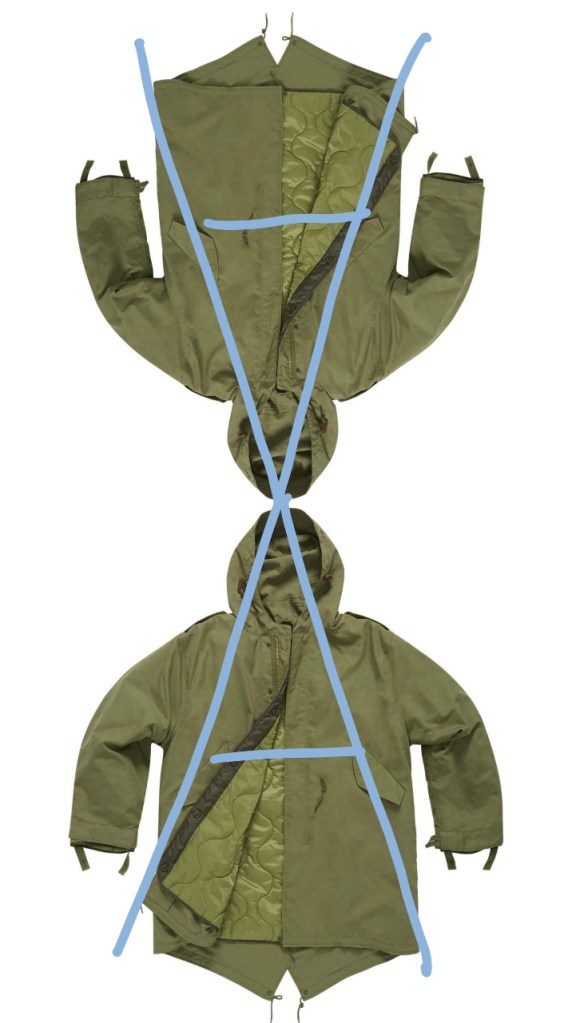
Based on the feedback on my illustrations, among the four portraits, many people liked the puffiness of the last one. Therefore I have Incorporated and developed my last wear with the first one. I’ve made the new design wider and looser to be more like a parka. Also, the sleeves developed like a bubbly hourglass shape which was inspired by the H & A shape of the parka.
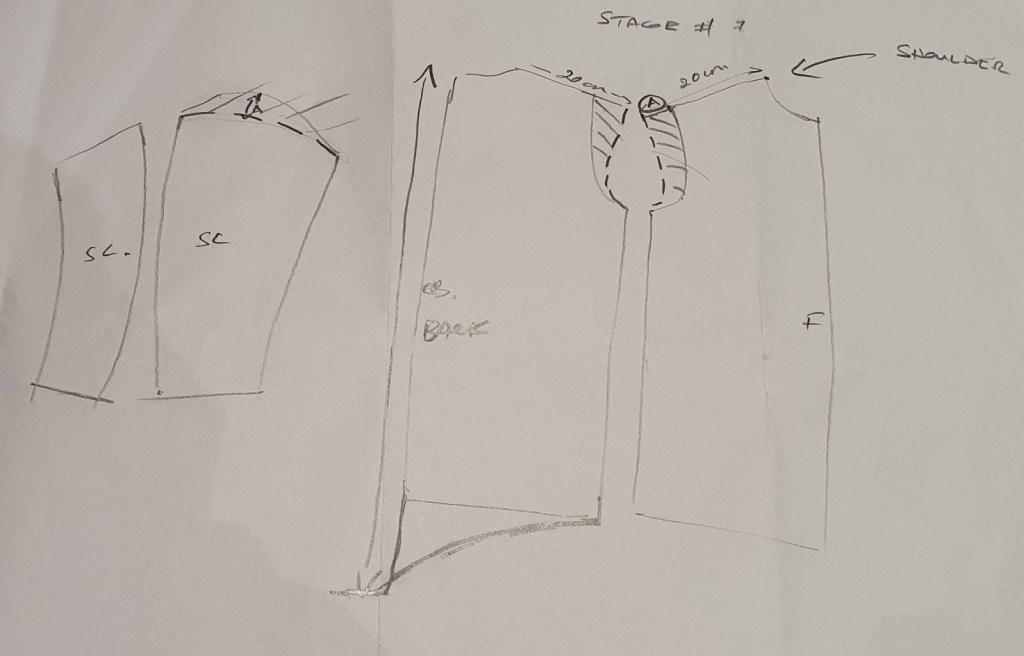
Stage One:Dropped Shoulder Line
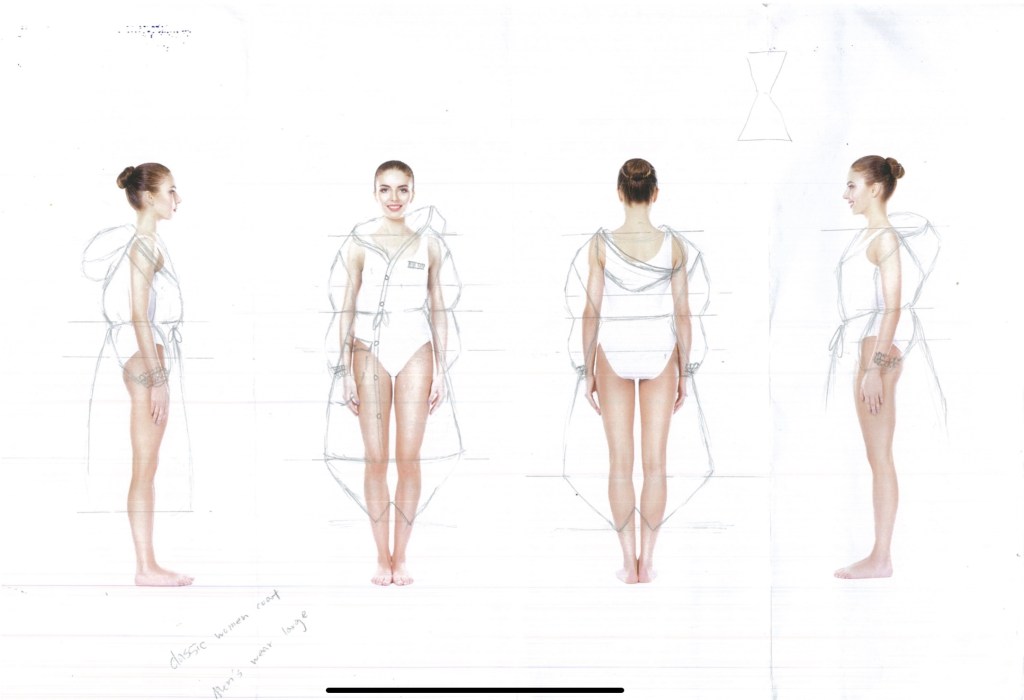
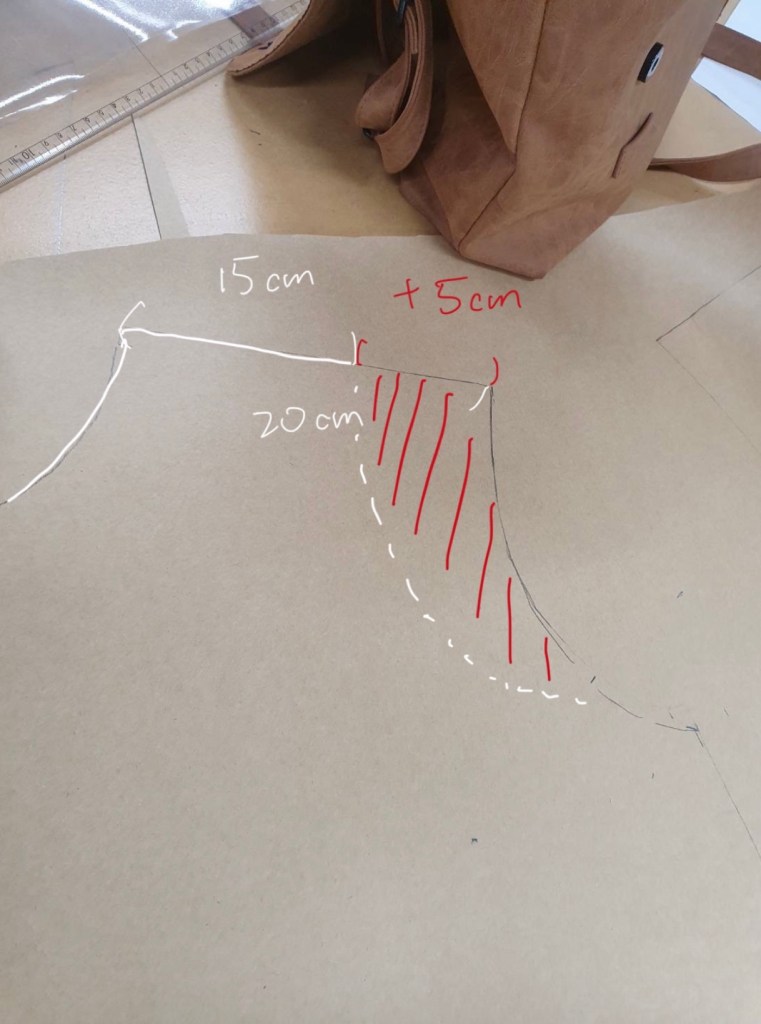
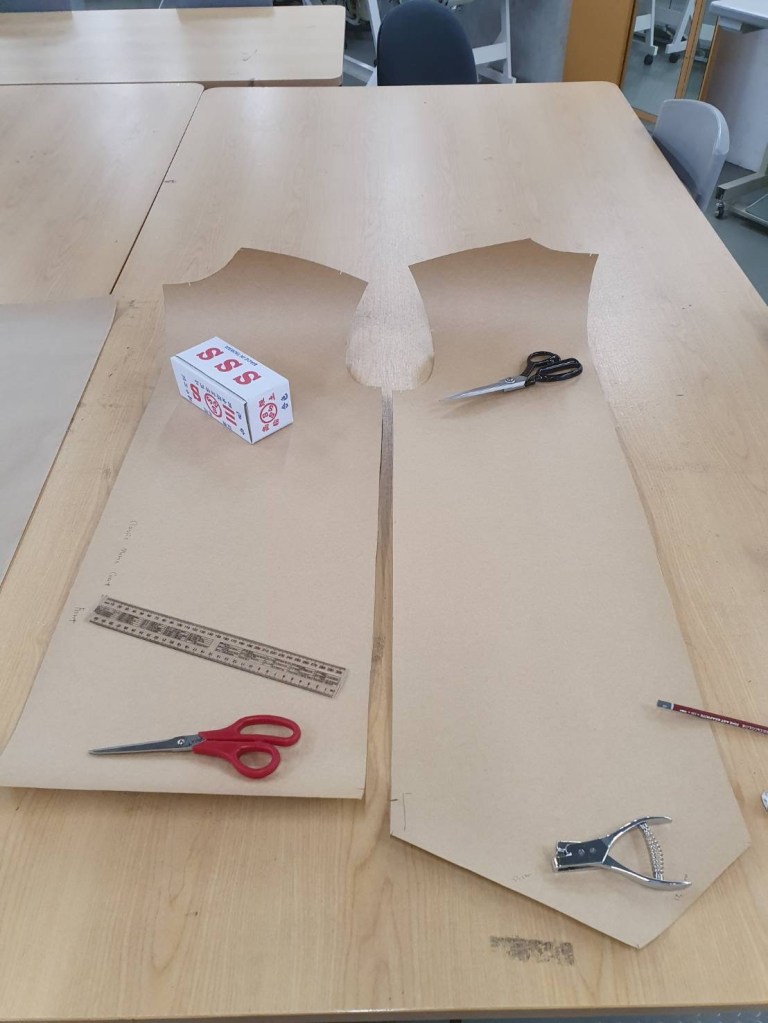
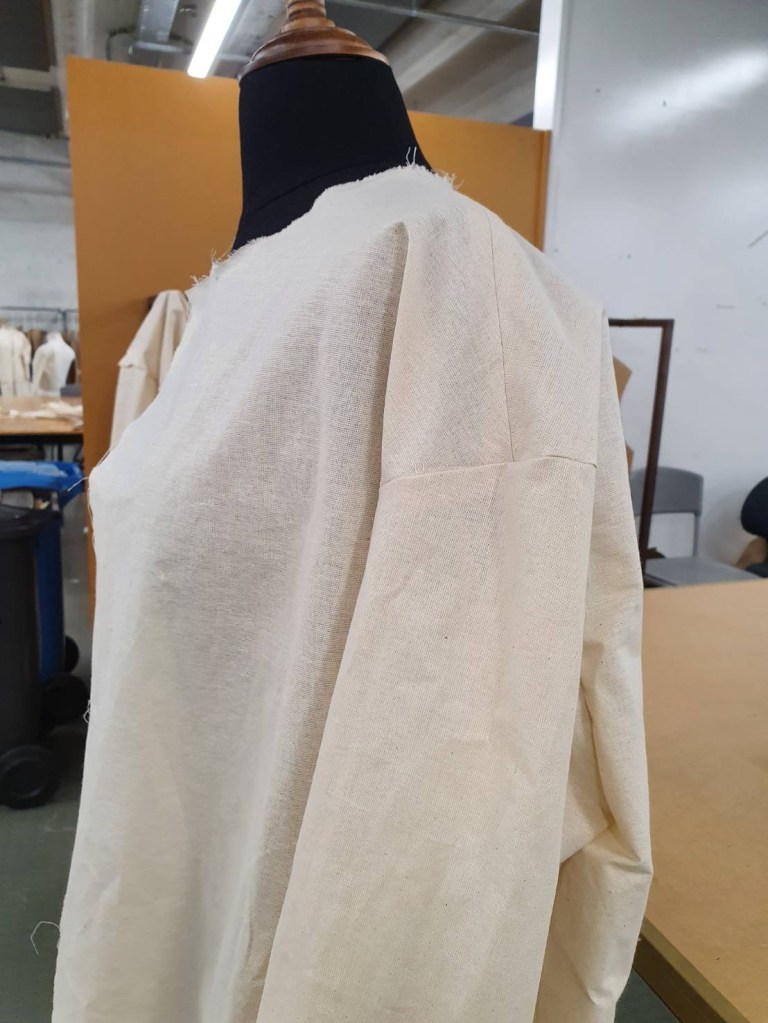
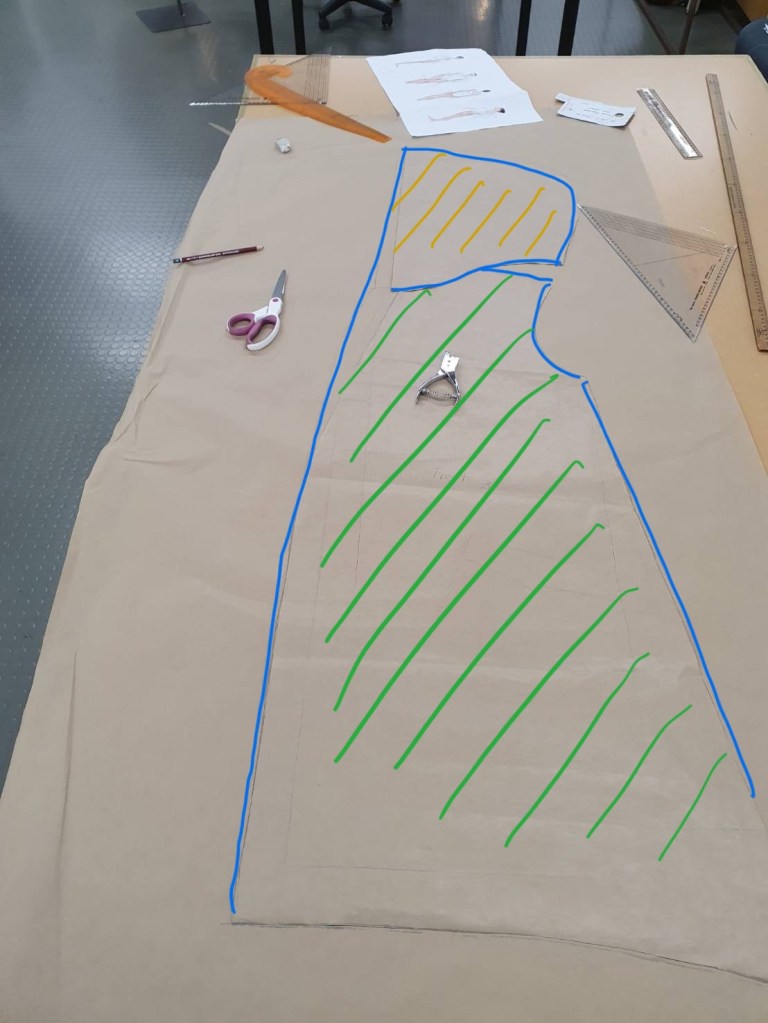
I used classic man’s coat large size to be my base blocks. The first thing I did, was extended the shoulder line to be 20cm wider.
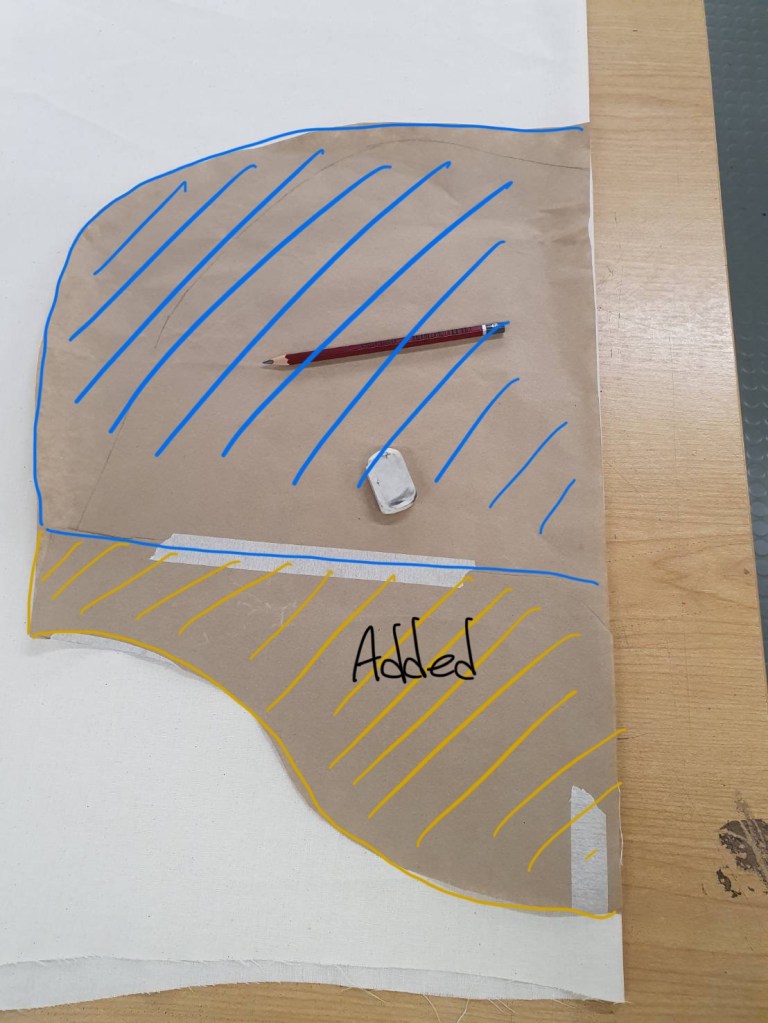
The original shoulder line on this block was 15 cm, however I dropped 5cm to be more wider.
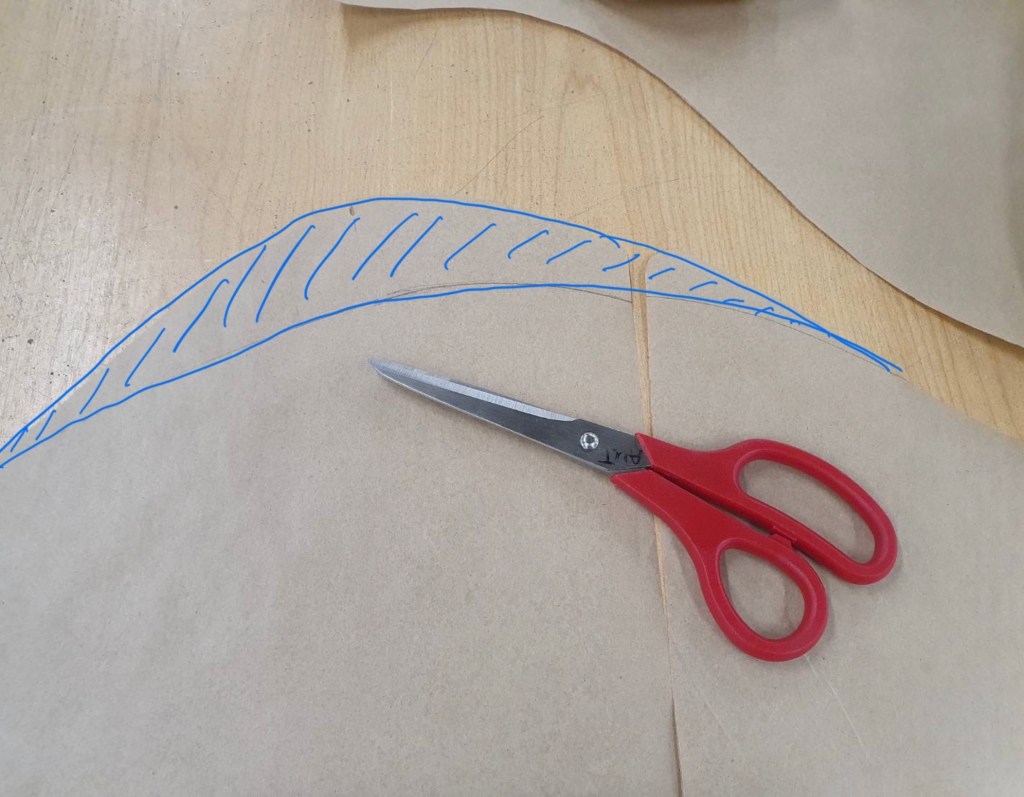
Cut the blue area to fit in with the new dropped shoulder arm holes.
Trying the shape of the fishtail.
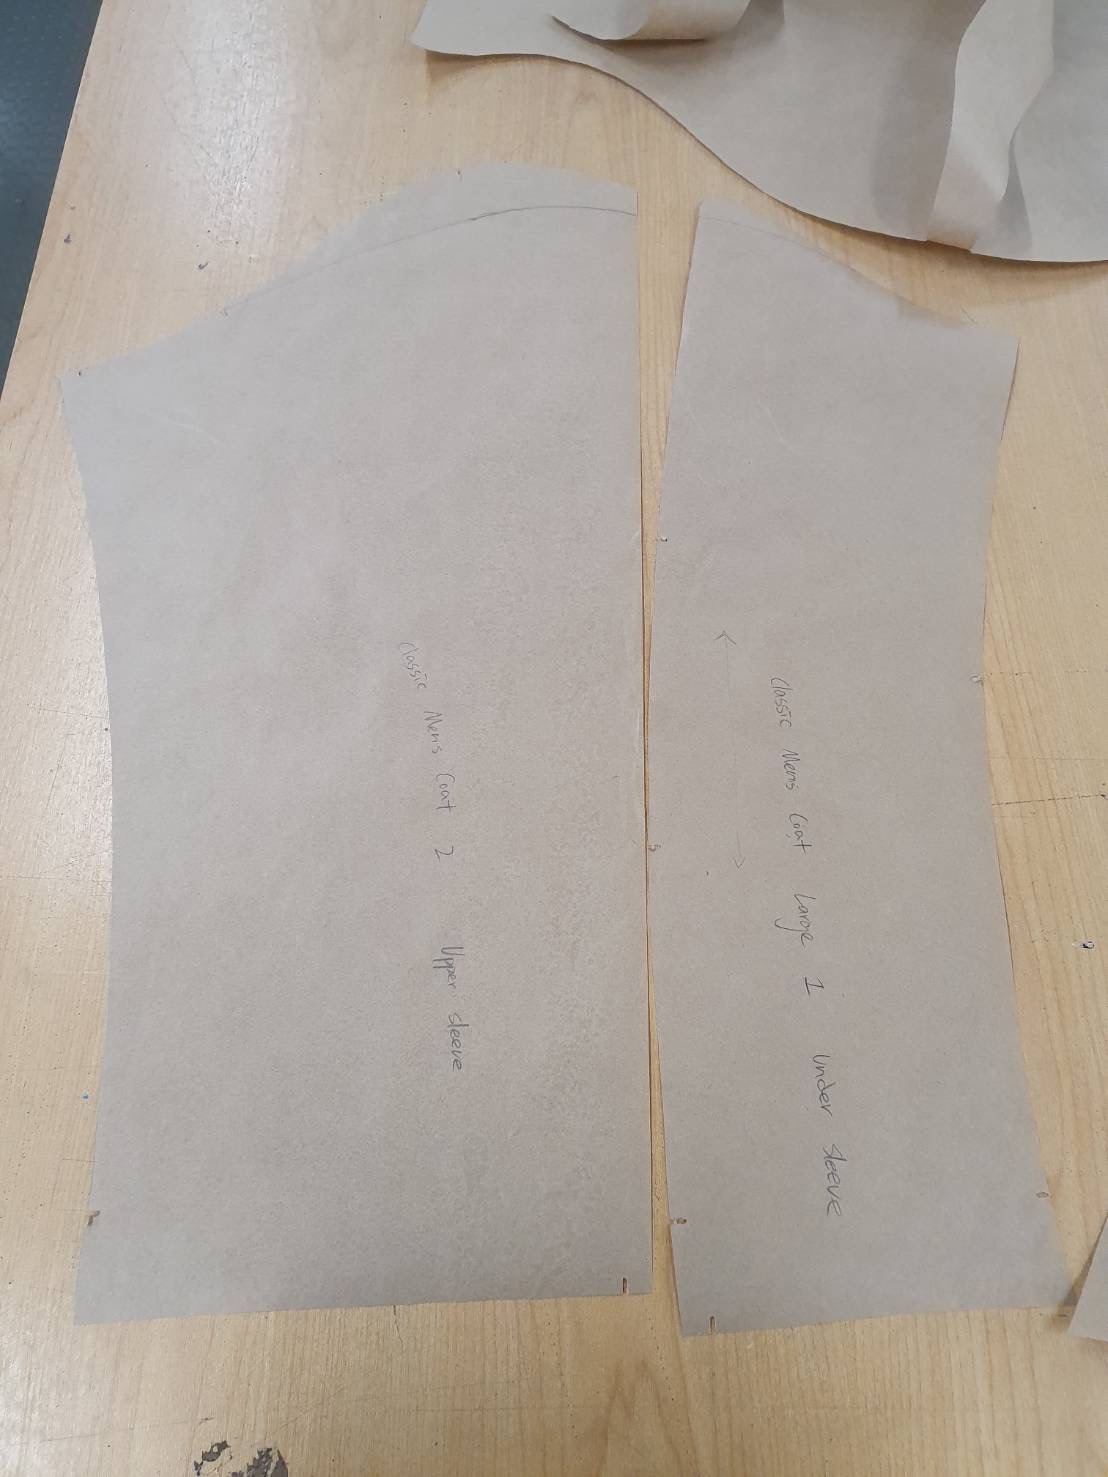
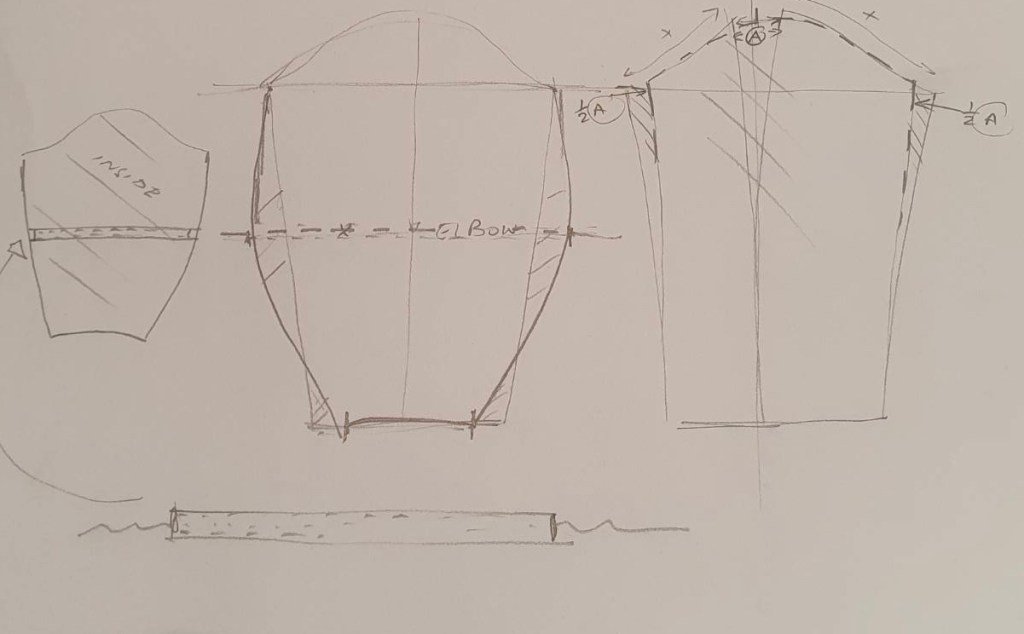
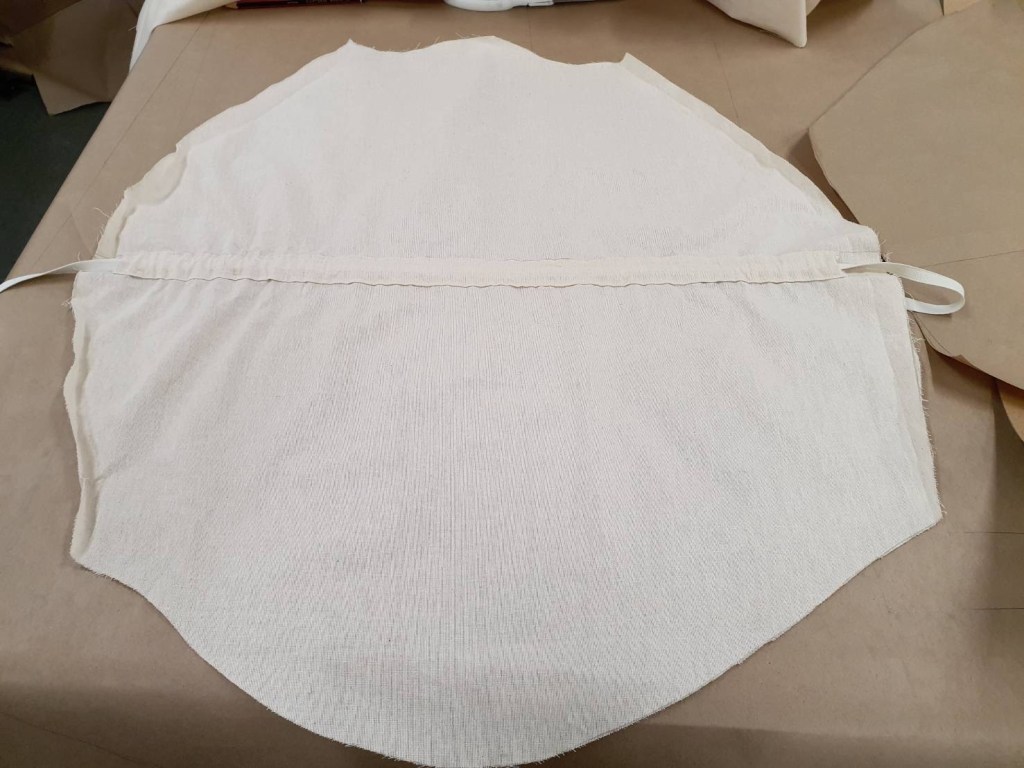
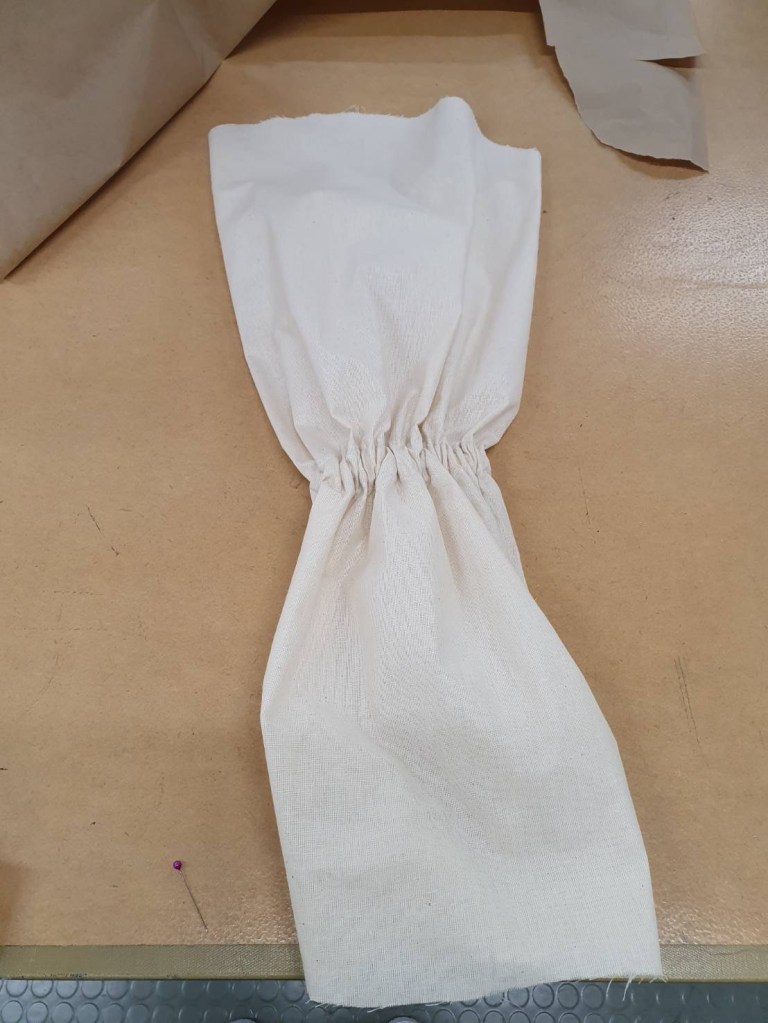
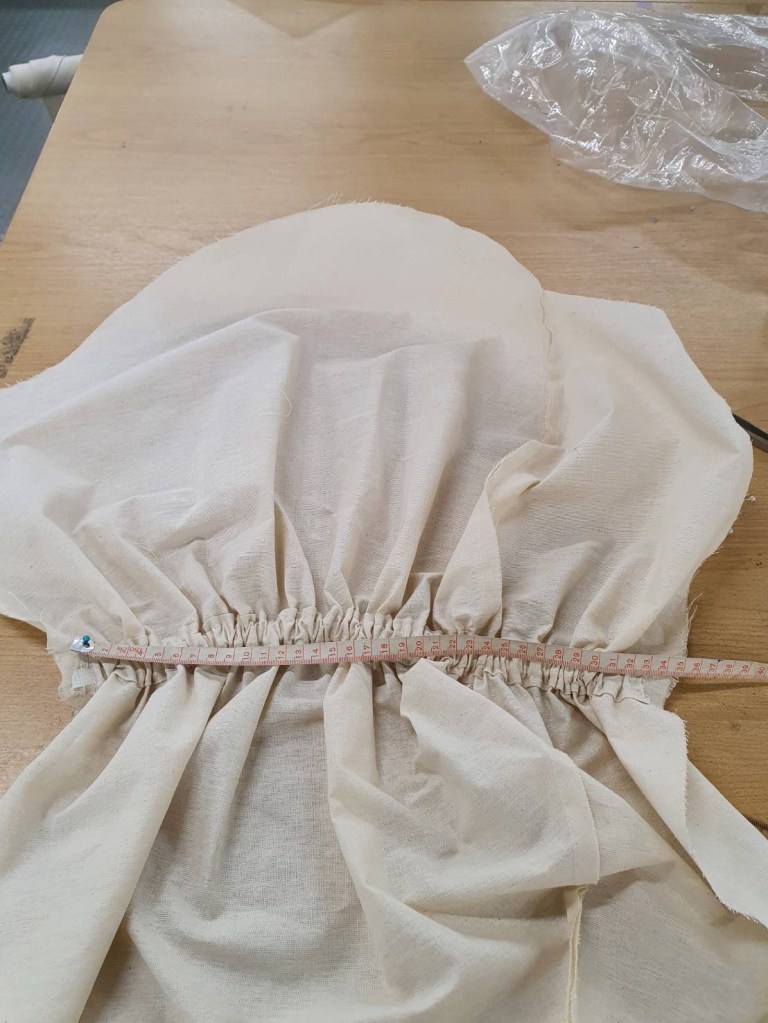
After checking the shoulder line drops to where I want it, I moved on to experimenting with the sleeves. I joined the two pieces of sleeves into one giant voluminous sleeve. Adding the elastic band around the elbow to create the hourglass shape.
Stage Two: Sleeves Development
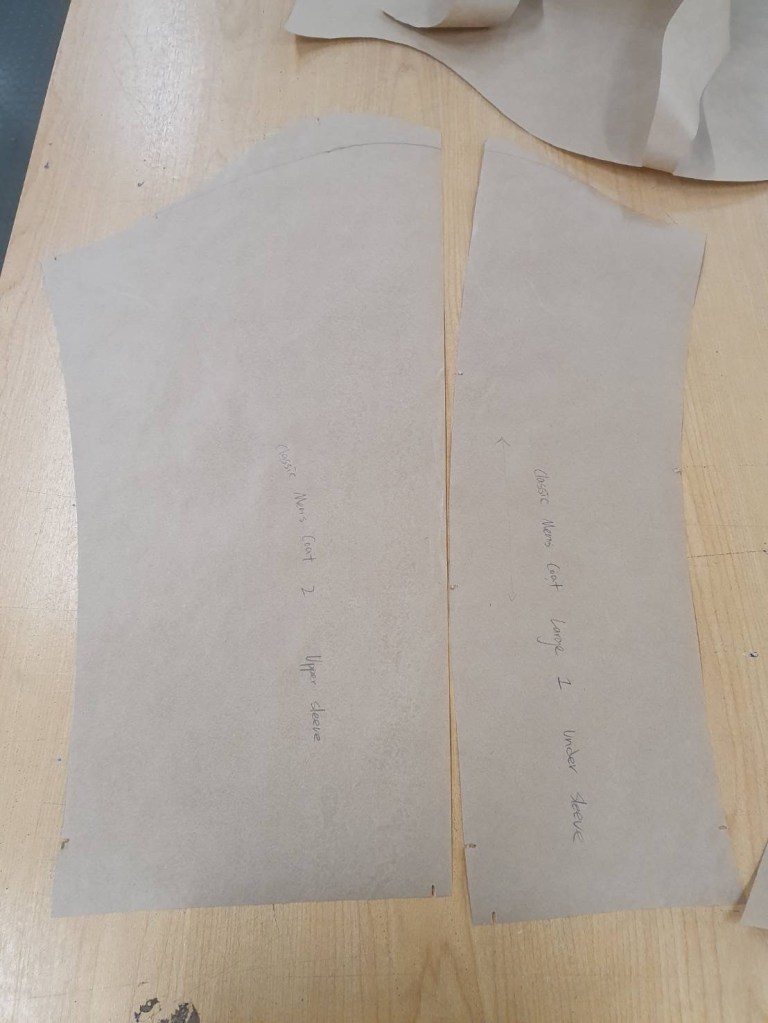
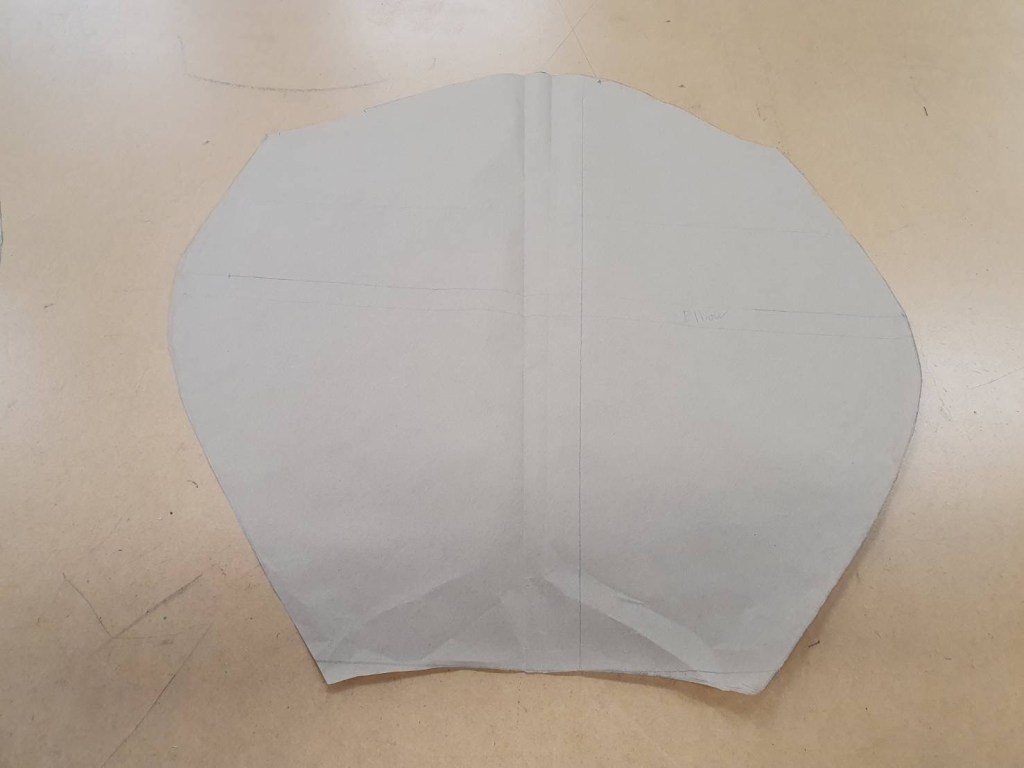
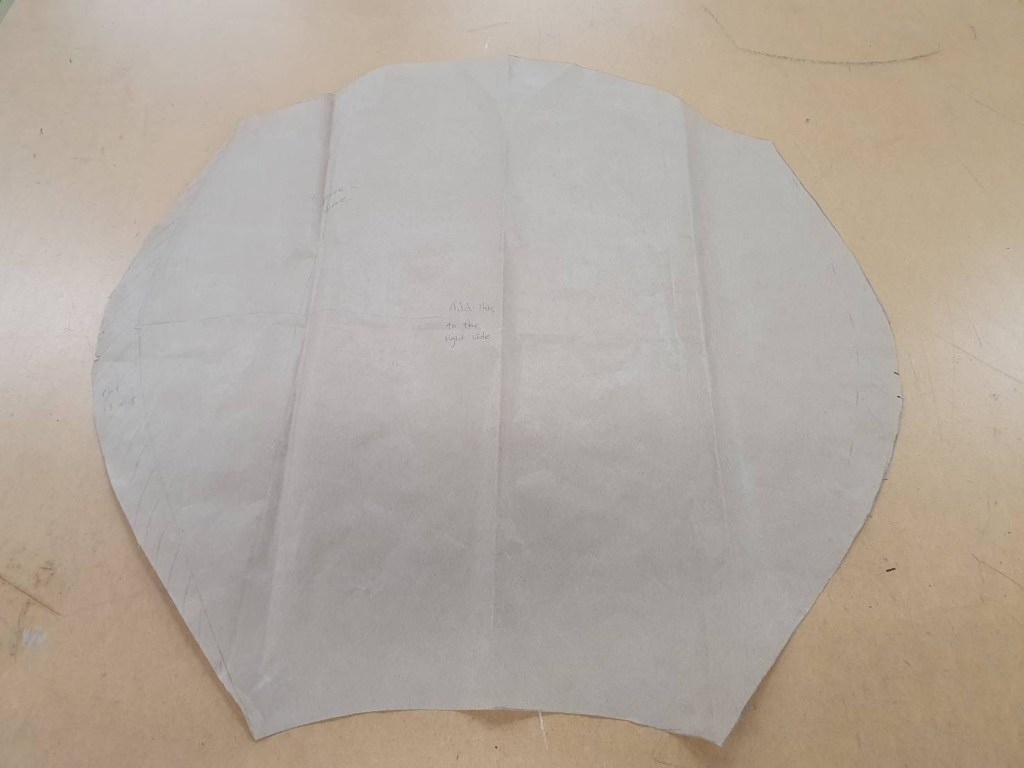
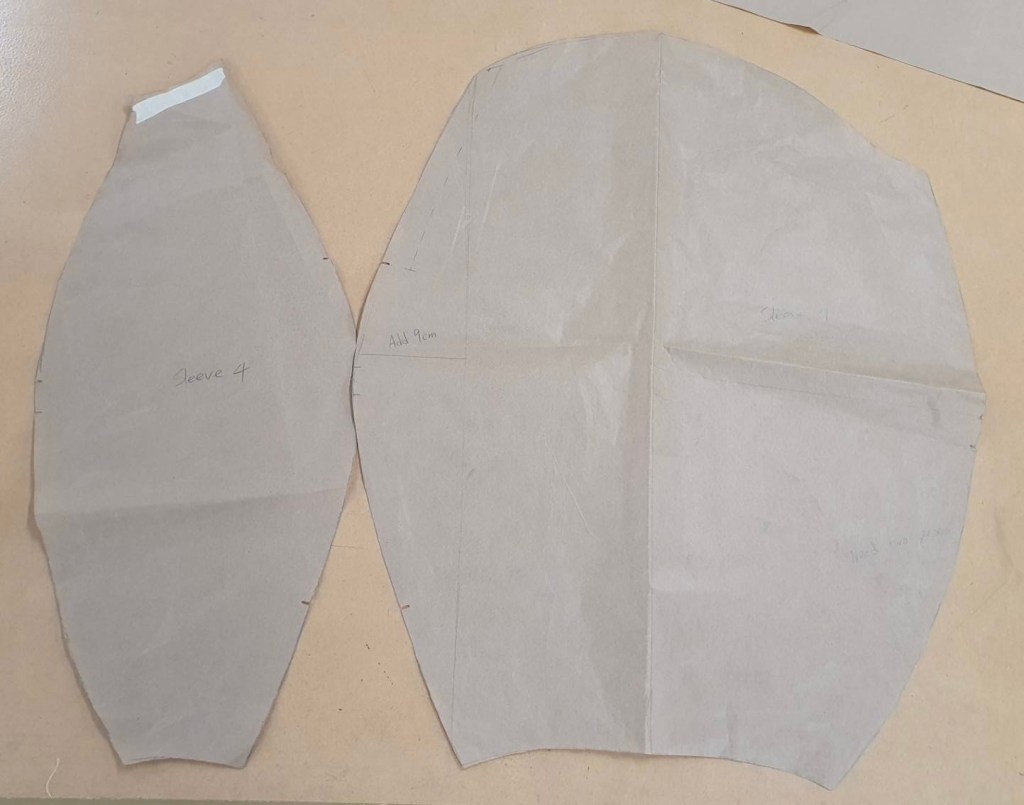
Two pieces of sleeves made into one.
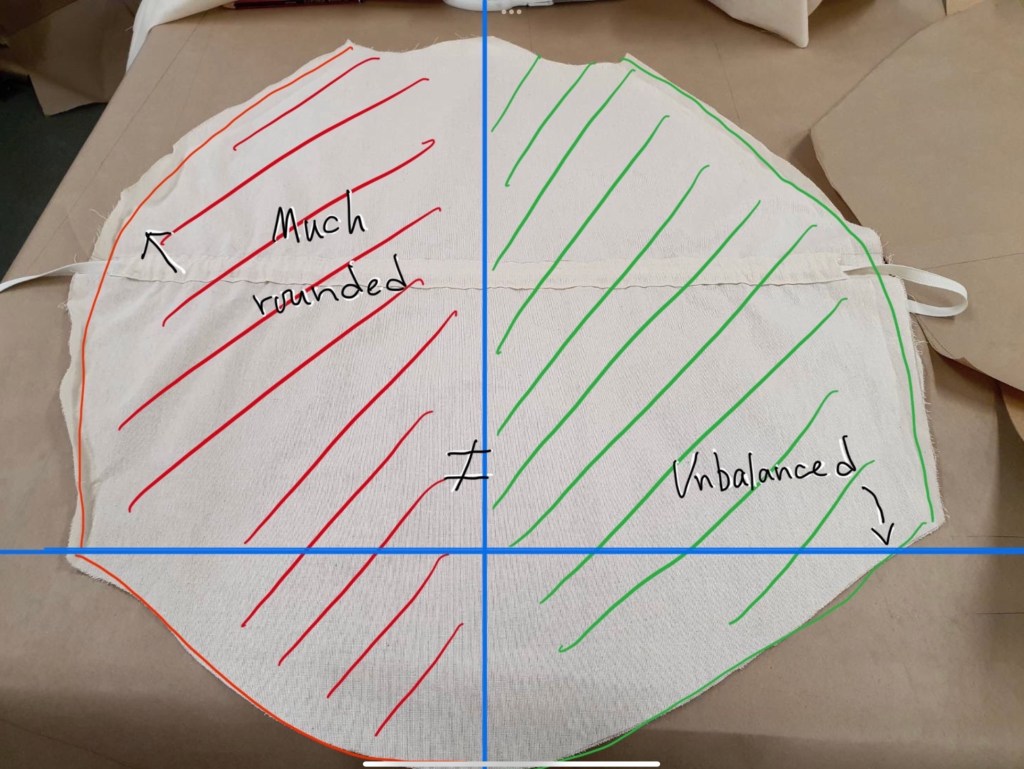
The red side and green side should be balanced.
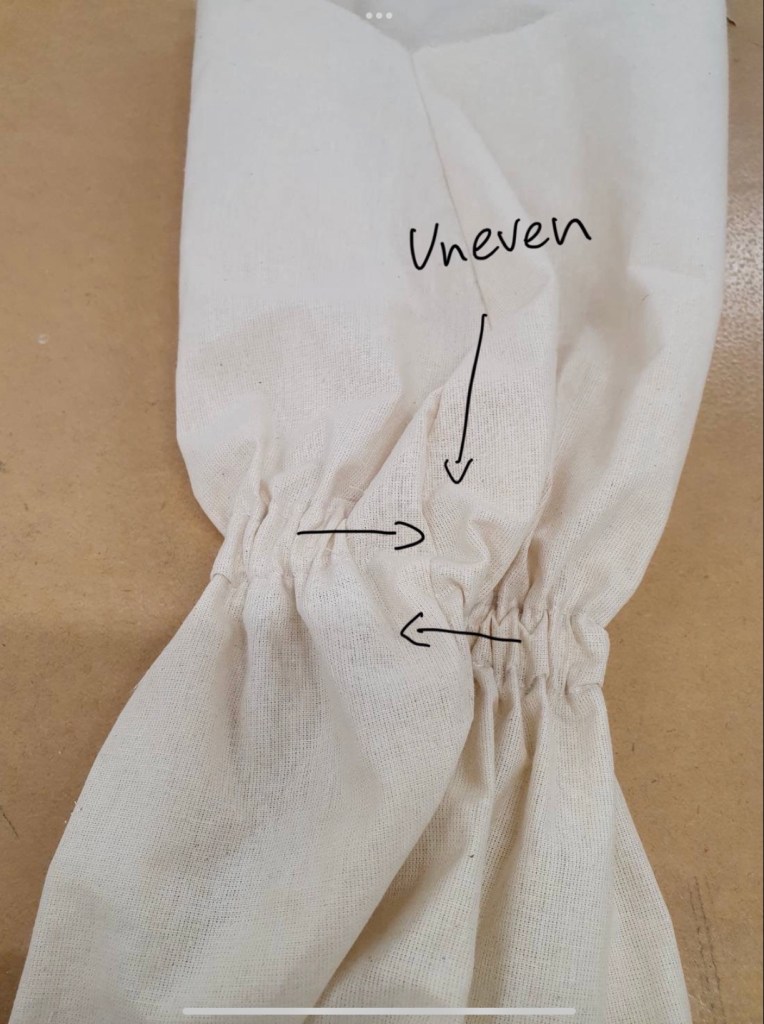
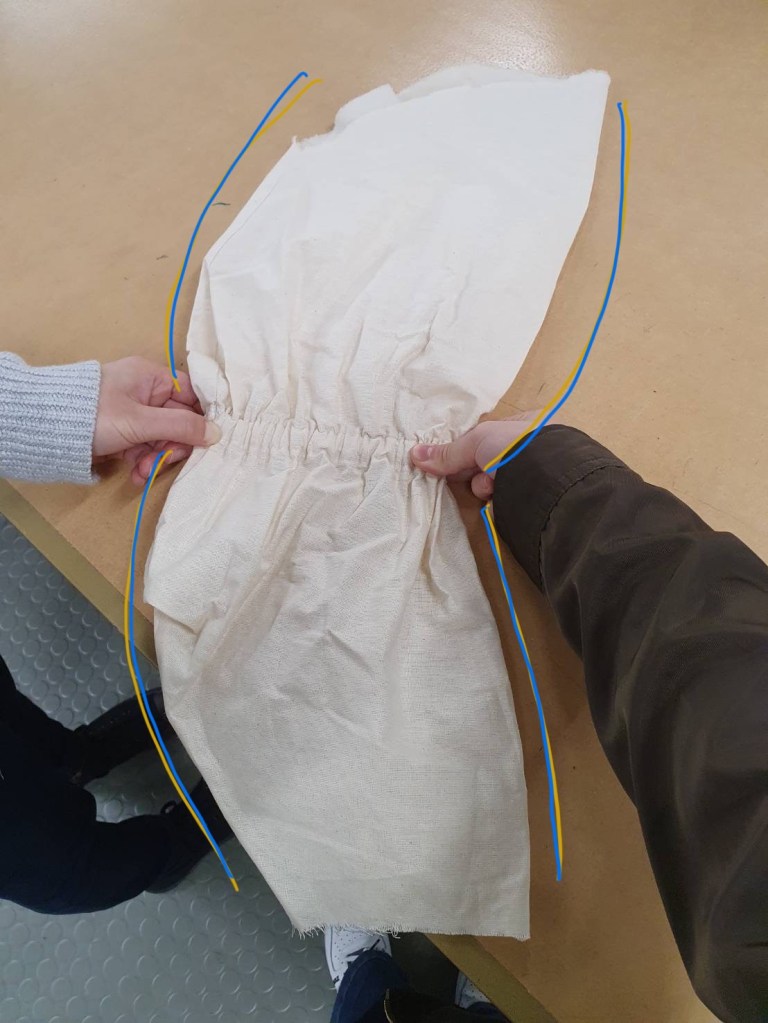
After stitching my sleeve together, it appeared that the elastic band didn’t match. However it gave me an idea of how the sleeves could possibly turn out. So I’d keep the shape of the sleeves, but remake my sleeve block as it’s unbalanced.
Sleeves Second development
Second development of the sleeves.I copied the same process to recreate my sleeves, but made sure that my sleeve is balanced on the right and left side.
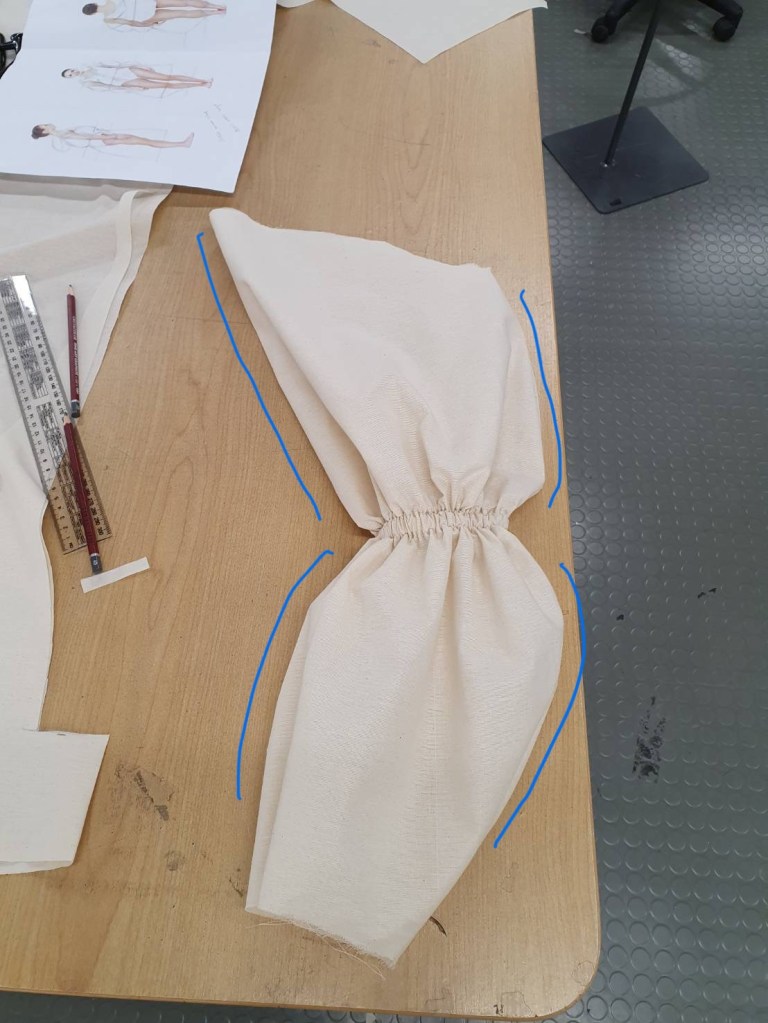
While finishing my second sleeve, I feel the sleeve still look not quite right with my drawings.
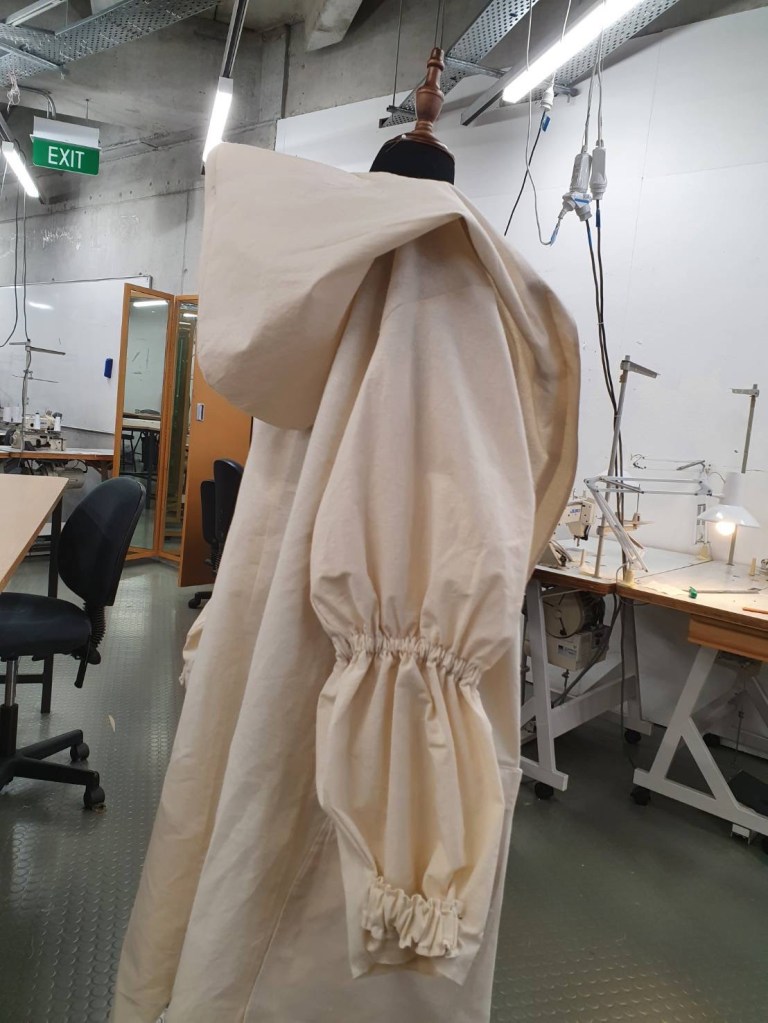
While I pull out the sleeve, I found the right shape.
Third Sleeves Experimentation
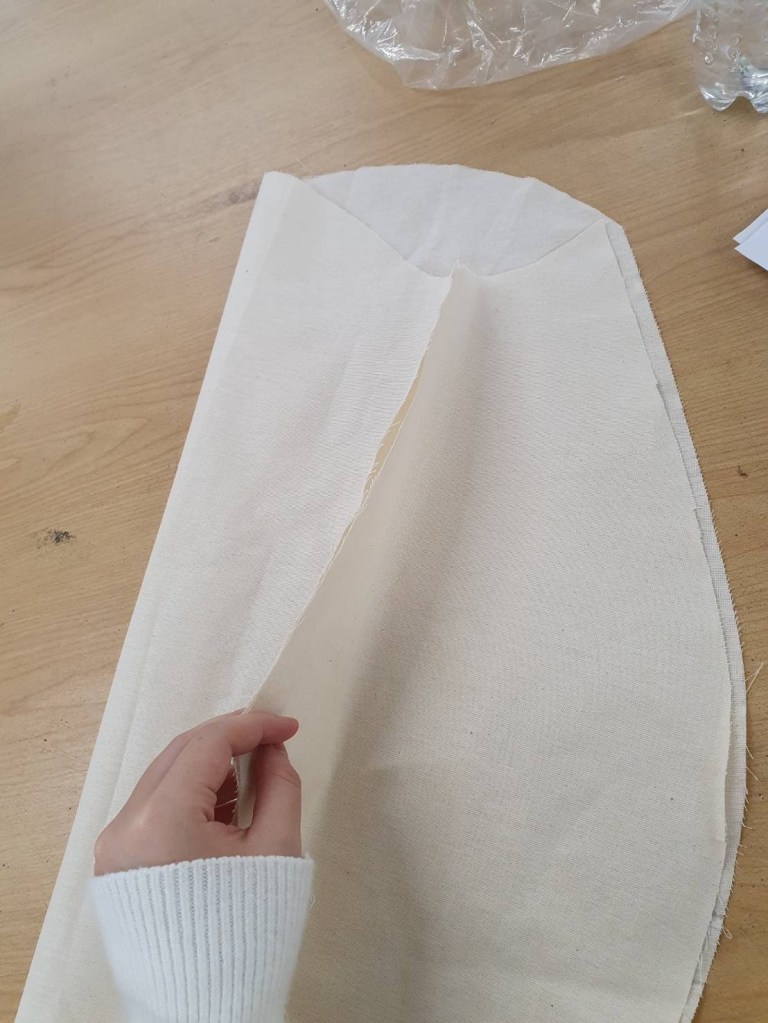
I’ve created my new sleeves by having two pieces again. This is because I made the straight elbow line to be curved.
I through the elastic in, and this time I add on more length for the elastic to give a smooth curve.
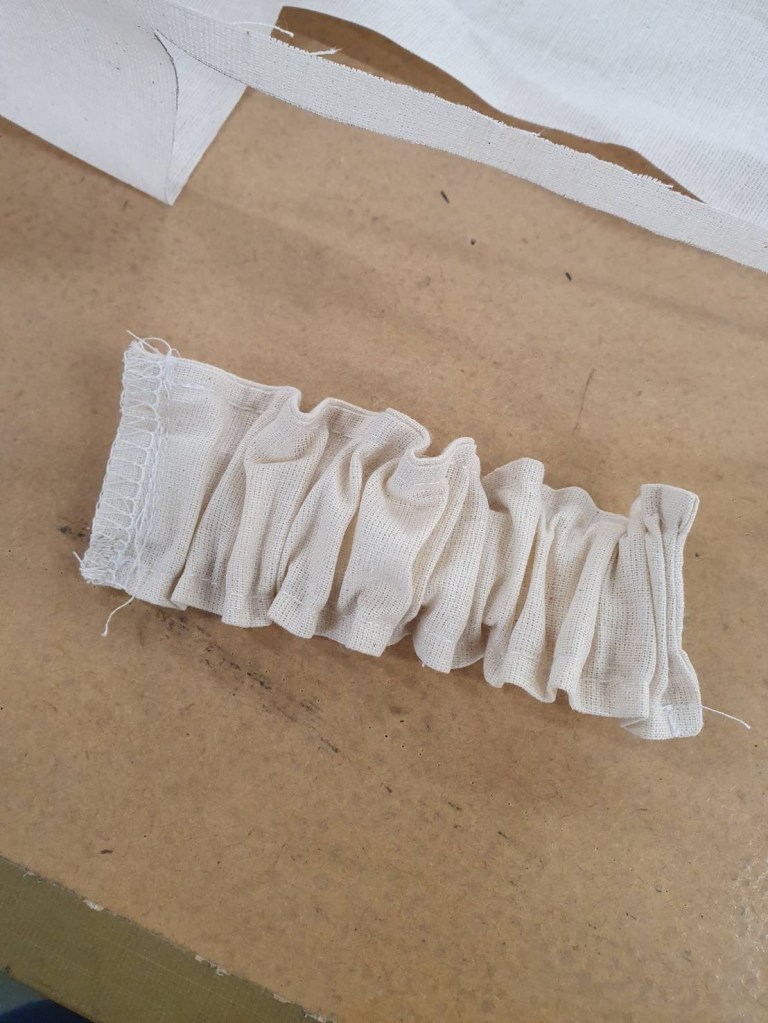
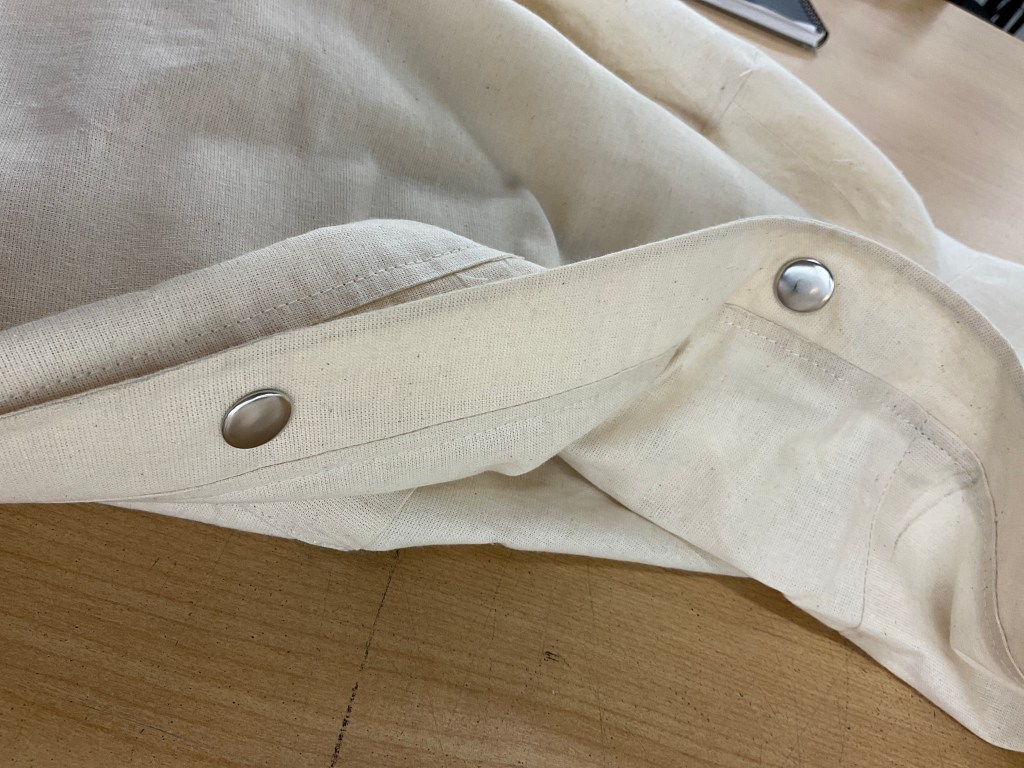
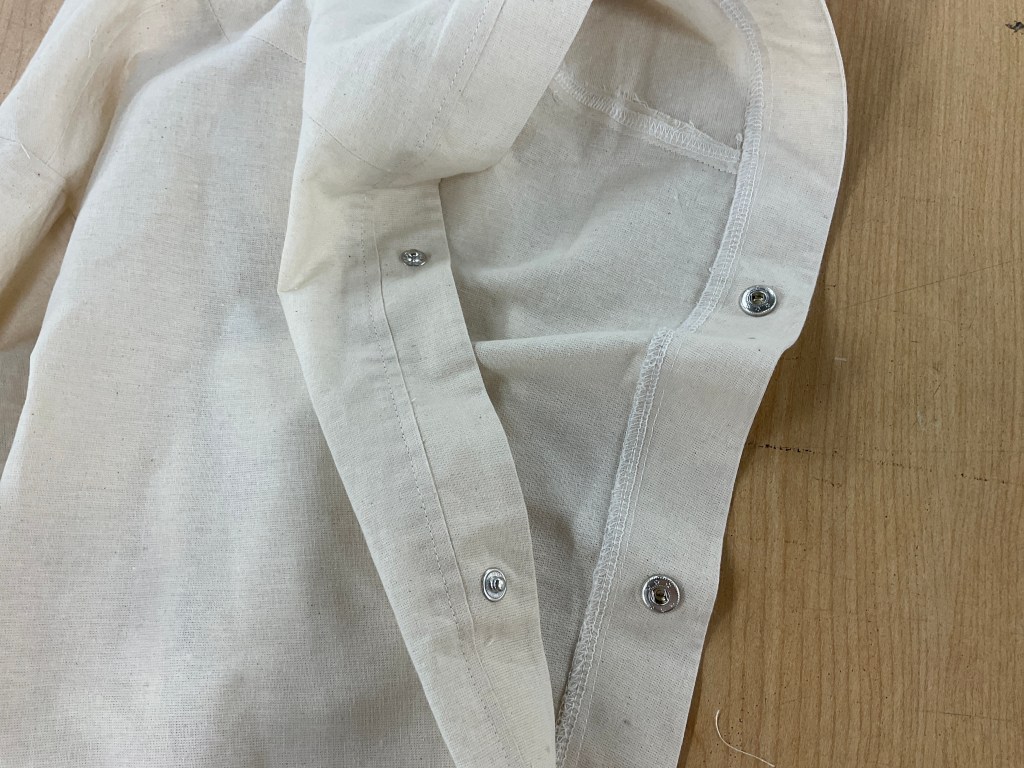
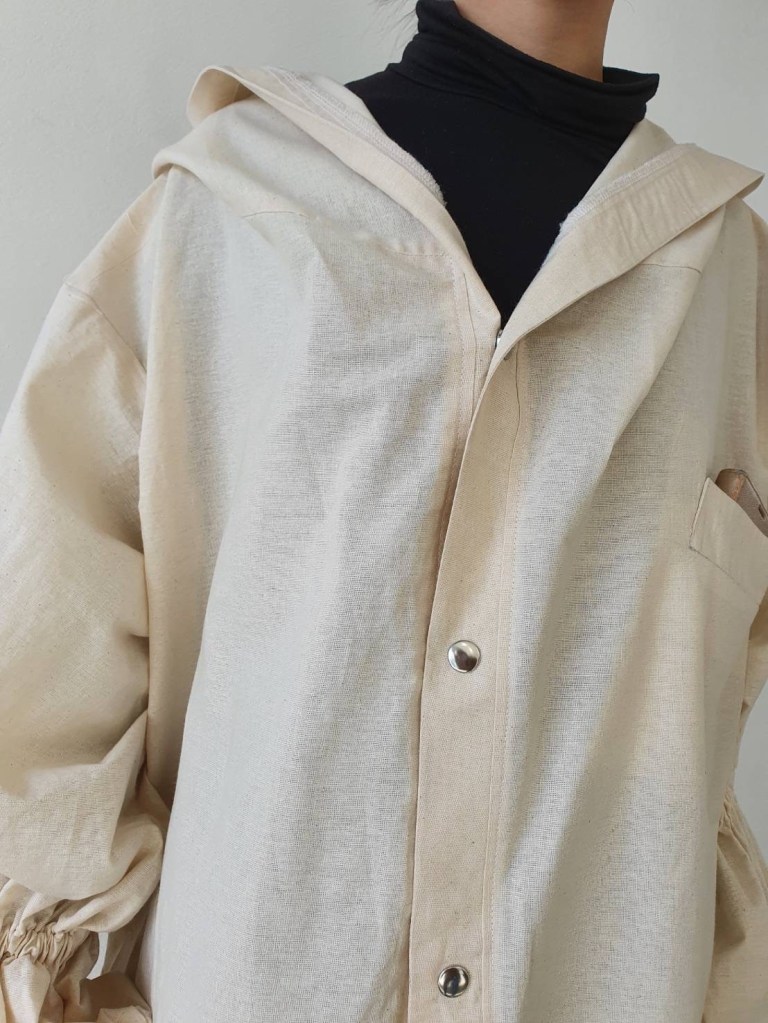
Created gathered wristbands to attach on the sleeves, then I stitched snaps on this wristband and coat.
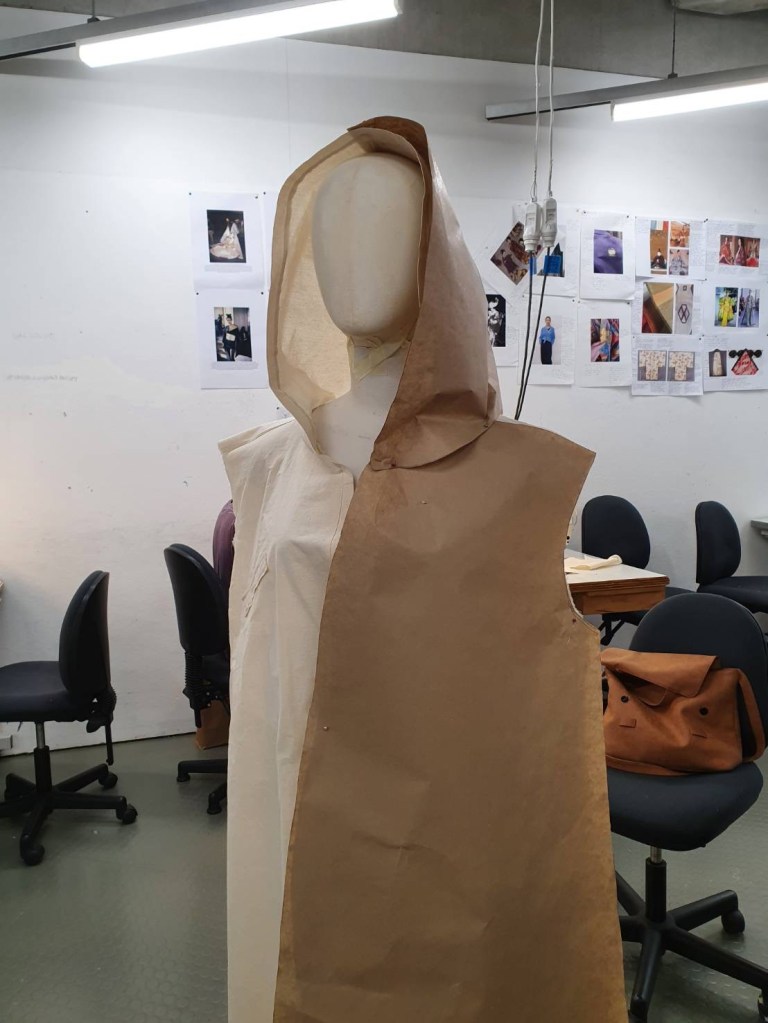
Stage Three:The Main Piece / Hood
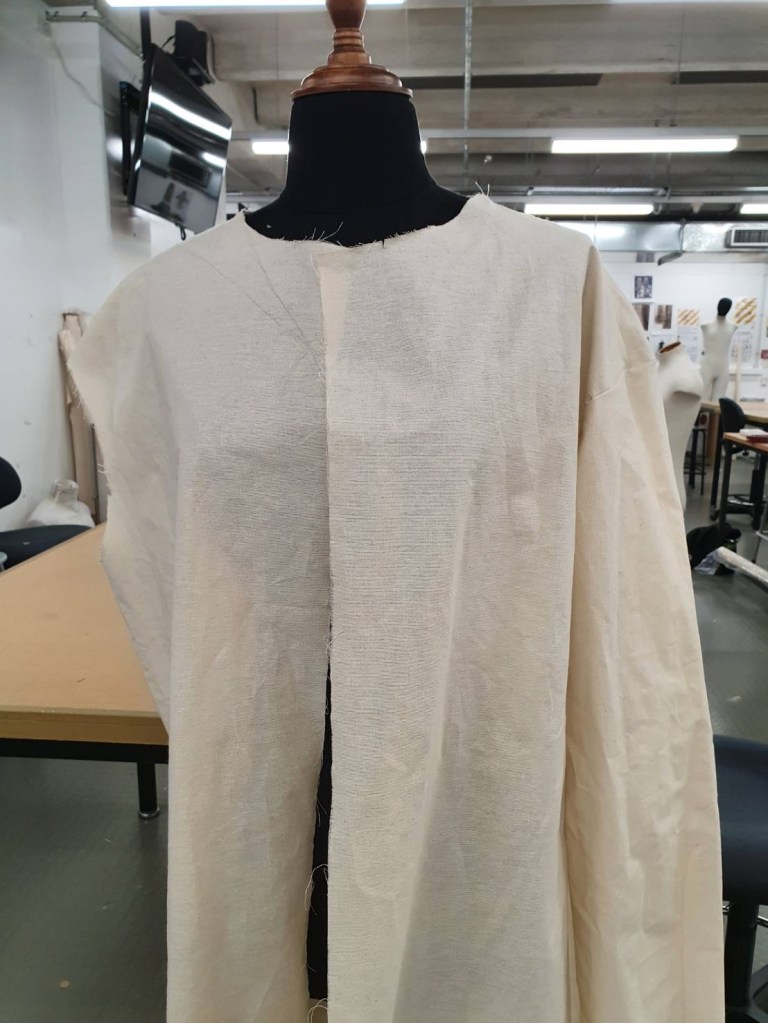
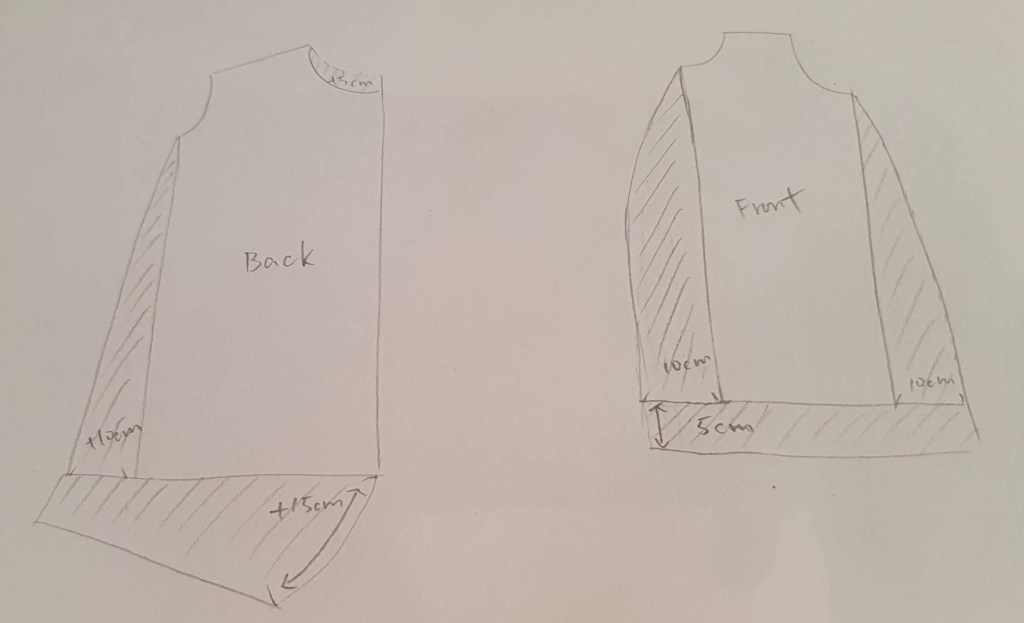
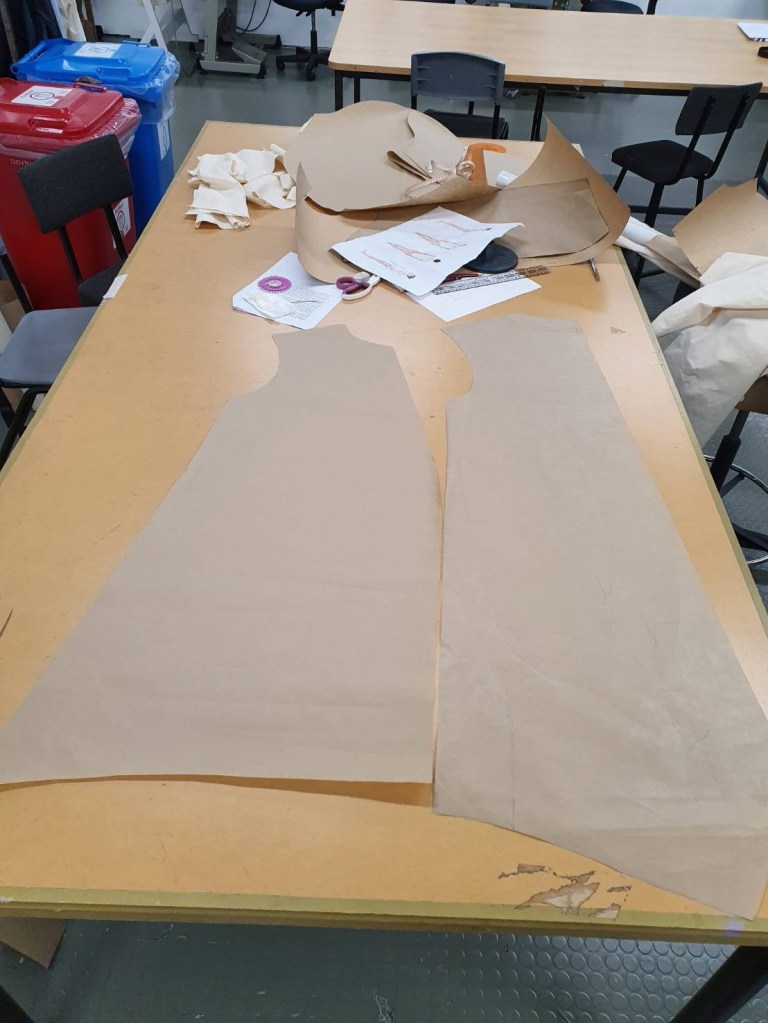
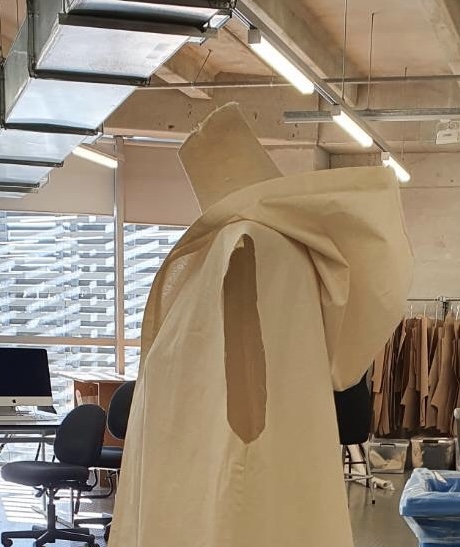
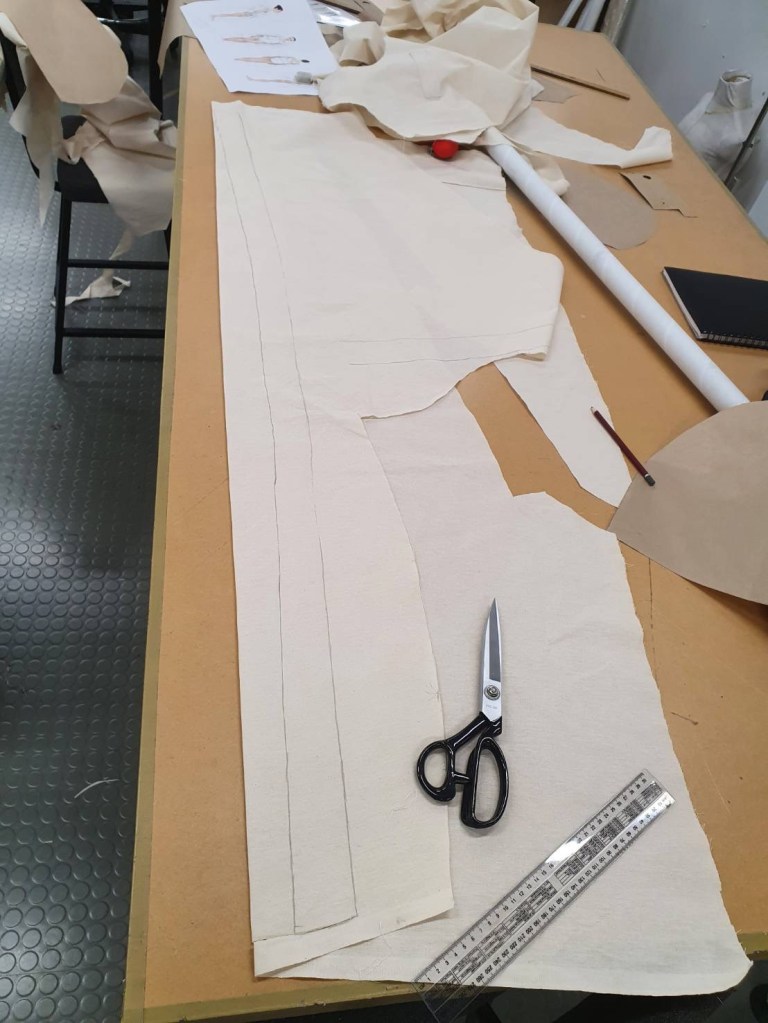
I extended the original back of coat 15cm longer and 10cm wider and the neckline 5 cm higher. I added the front 5 cm longer & 10 cm wider on each sides, also created the curved opening.
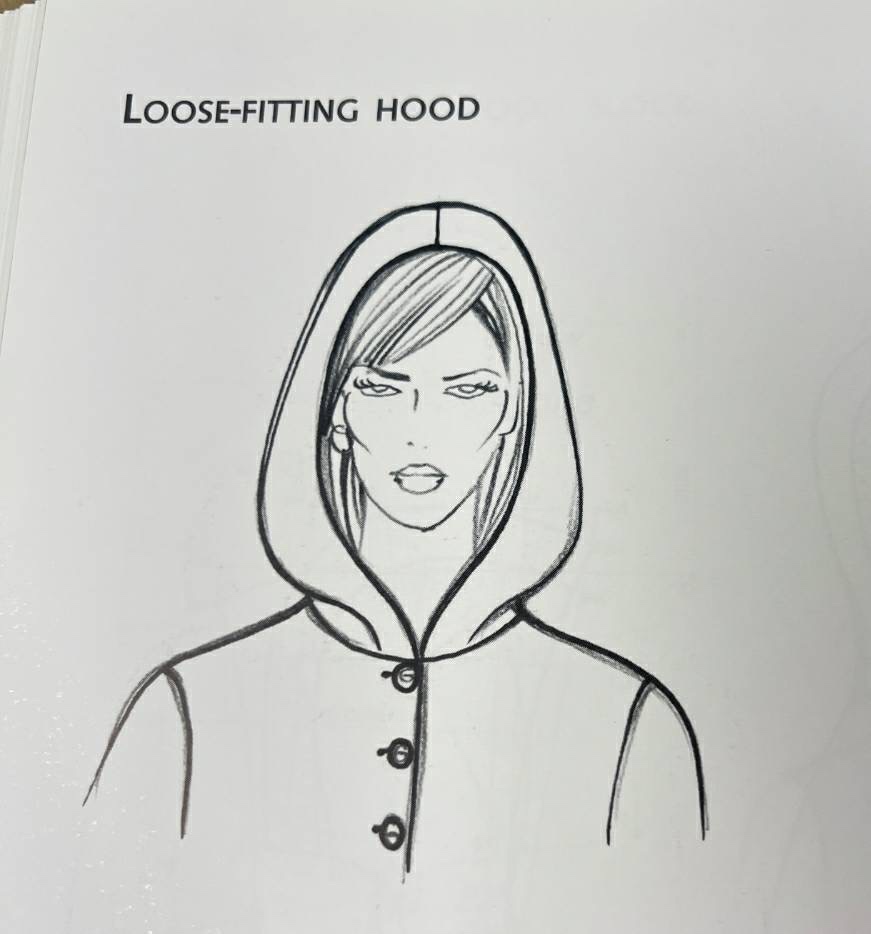
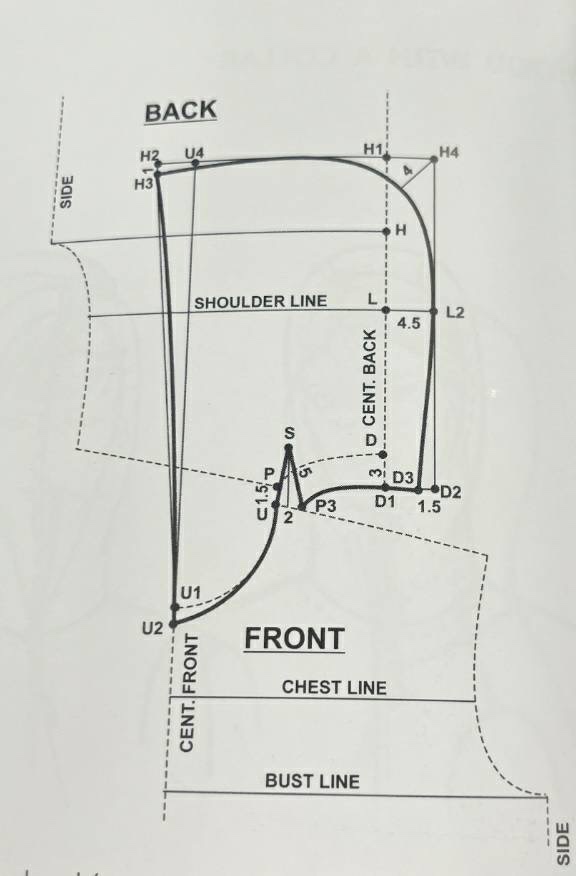
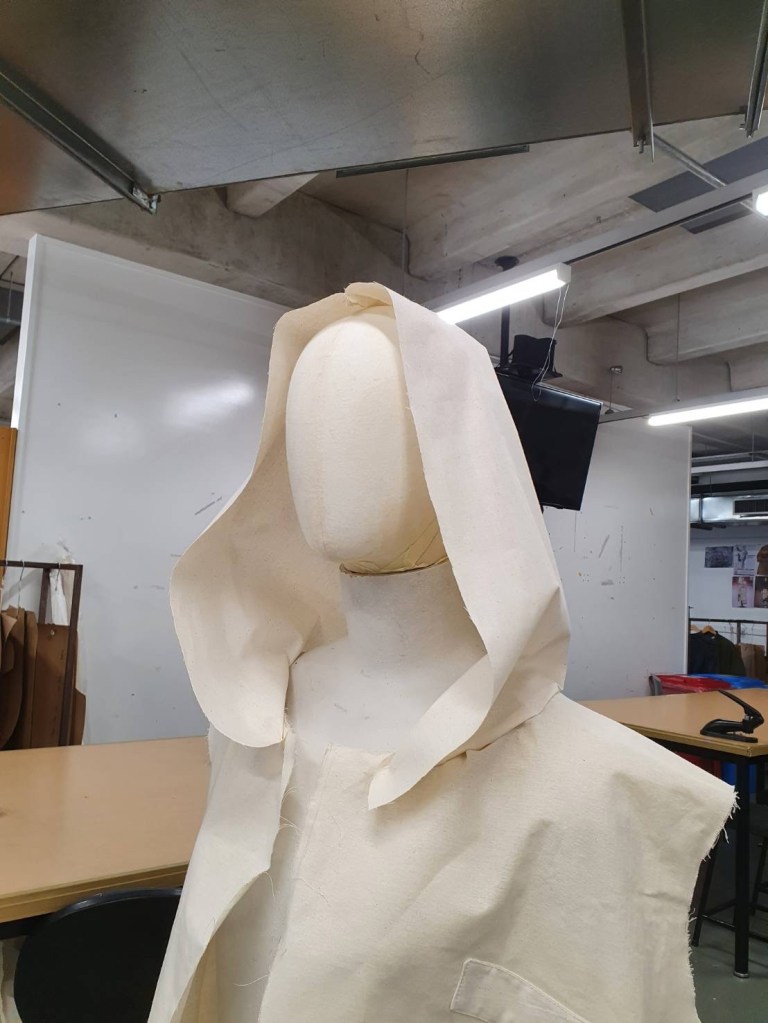
I looked into a pattern making book to find the reference of my hood.
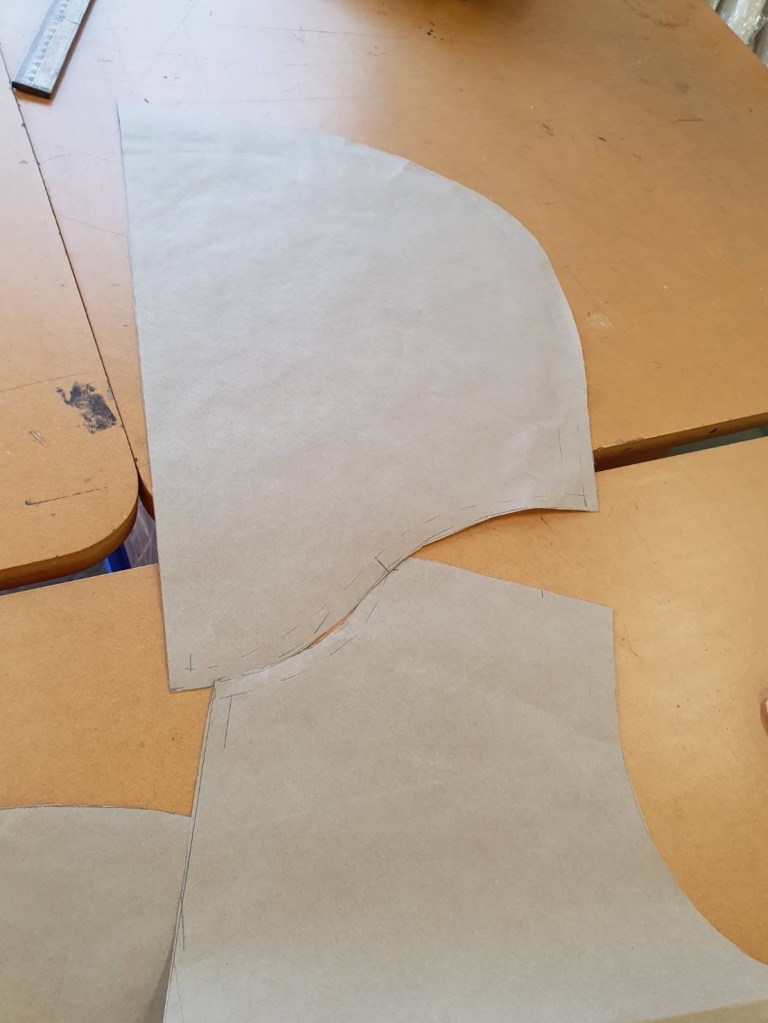
The front needs to match with the front piece of neckline, the back does the same.
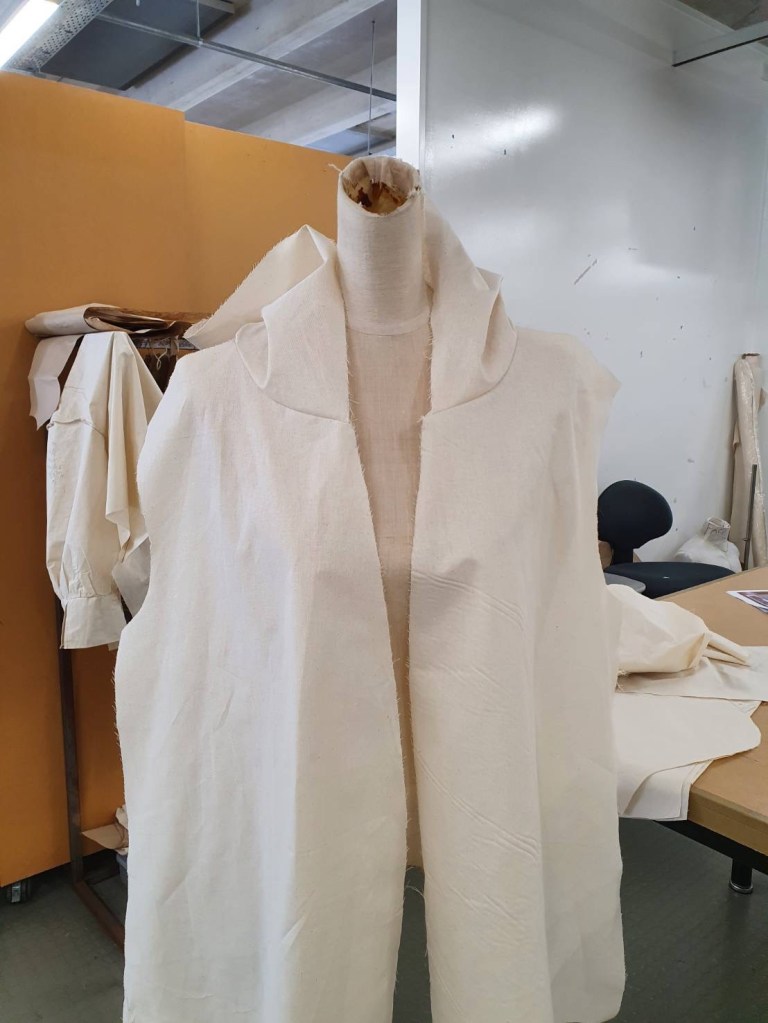
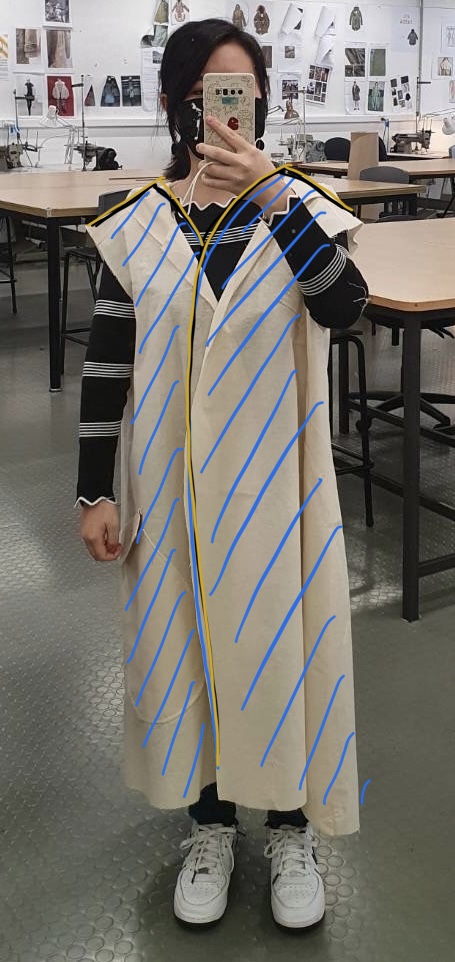
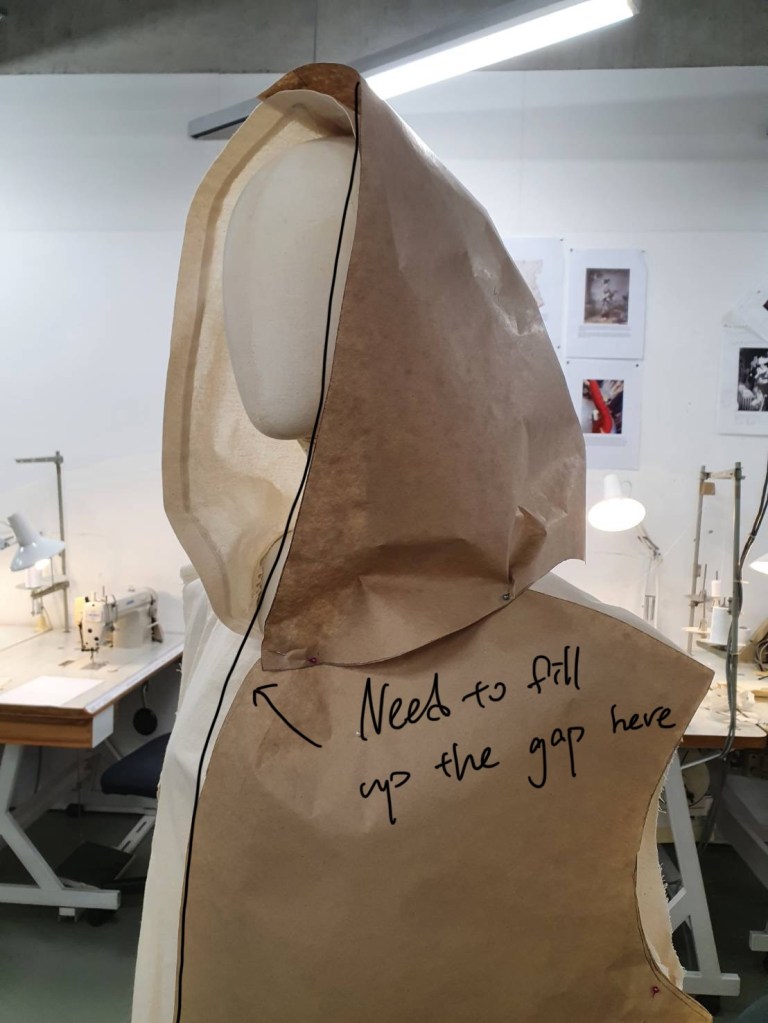
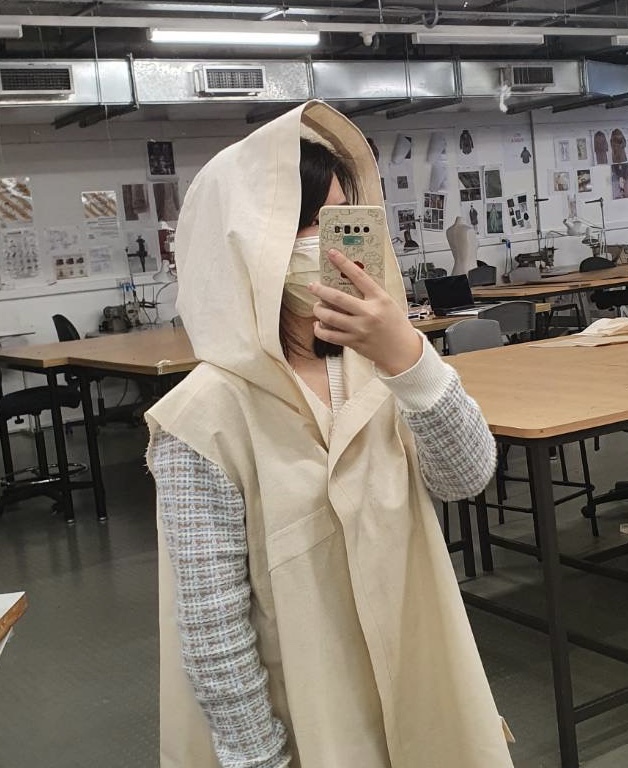
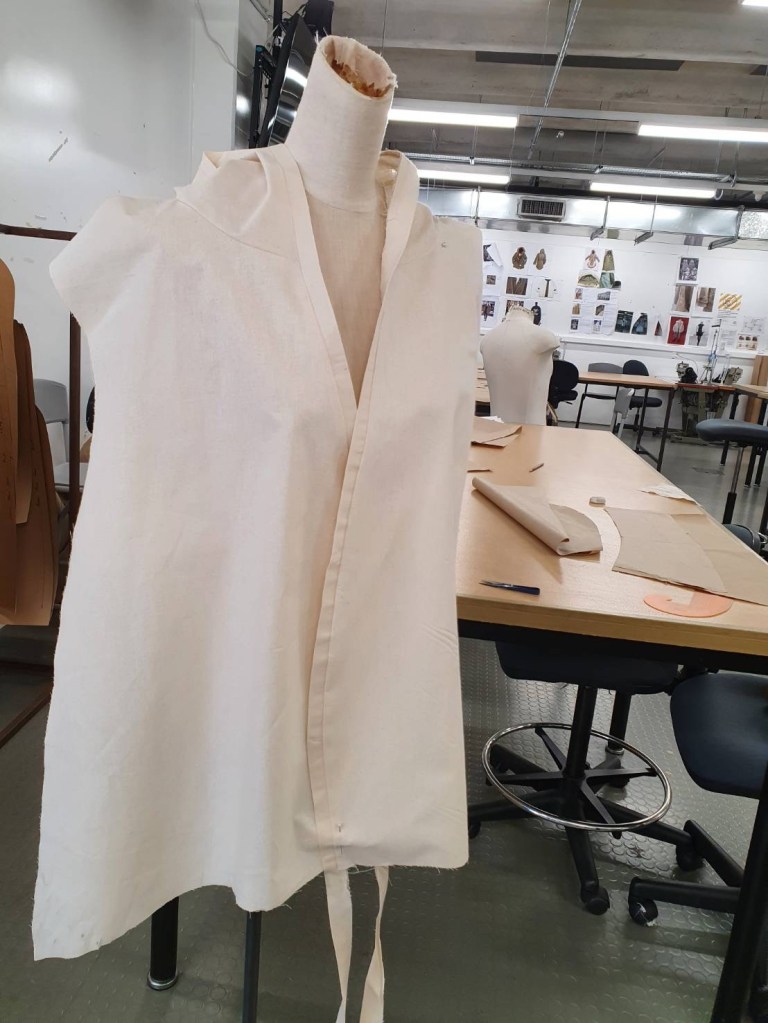
After stitching my coat with the hood, I concernd that the Y opening shape should be a bit higher.
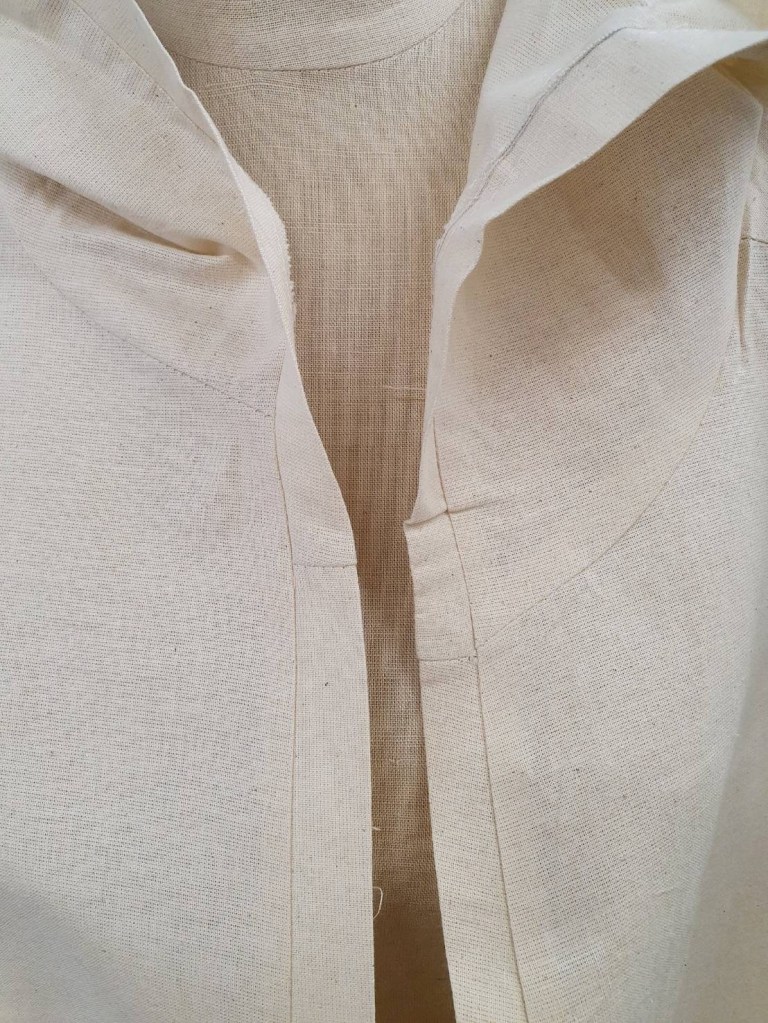
The Y opening need to be higher and connect with the hood, therefore I’d have to add the same amount length on my hood as well.
I have recreate the block for the new design, but then I missed a gap here.
The Redesign of the Coat /Hood
Redesign the opening higher.
I have do re-measure the front neckline, and then added the extra length on the hood.
Stage Four: Band
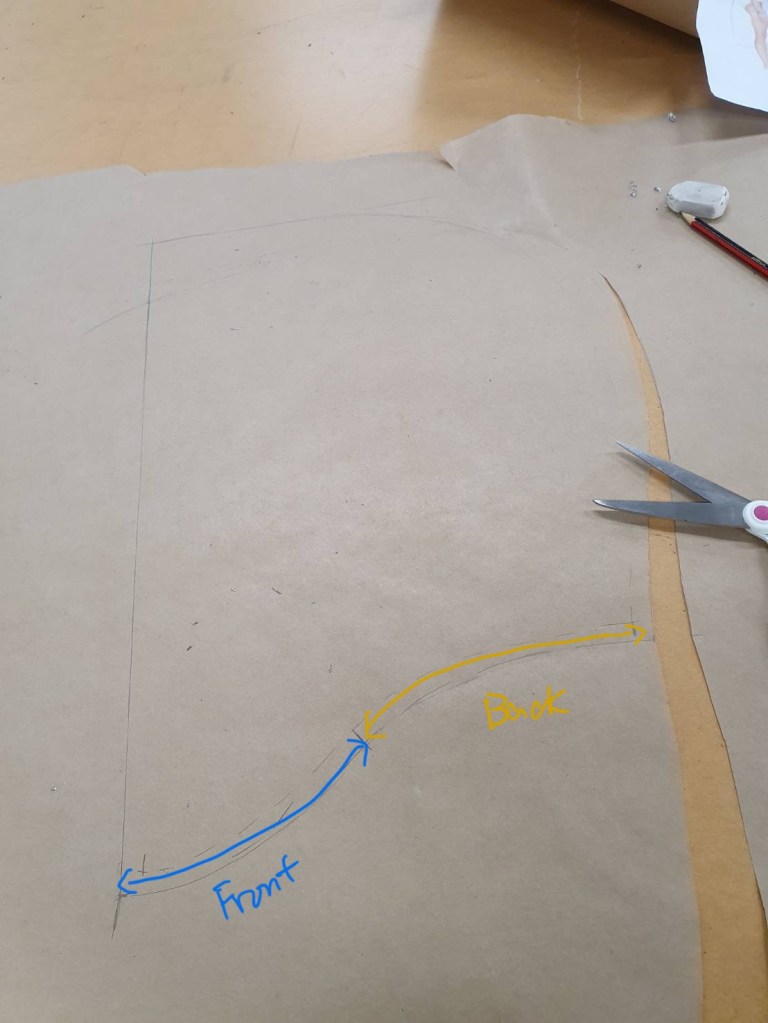
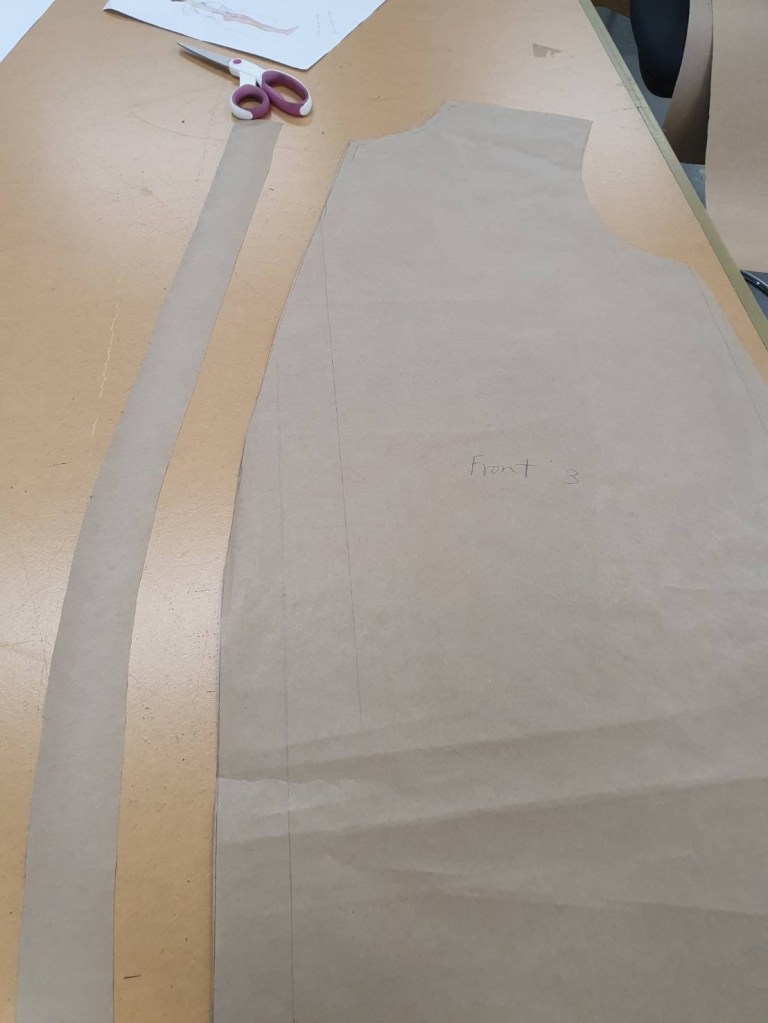
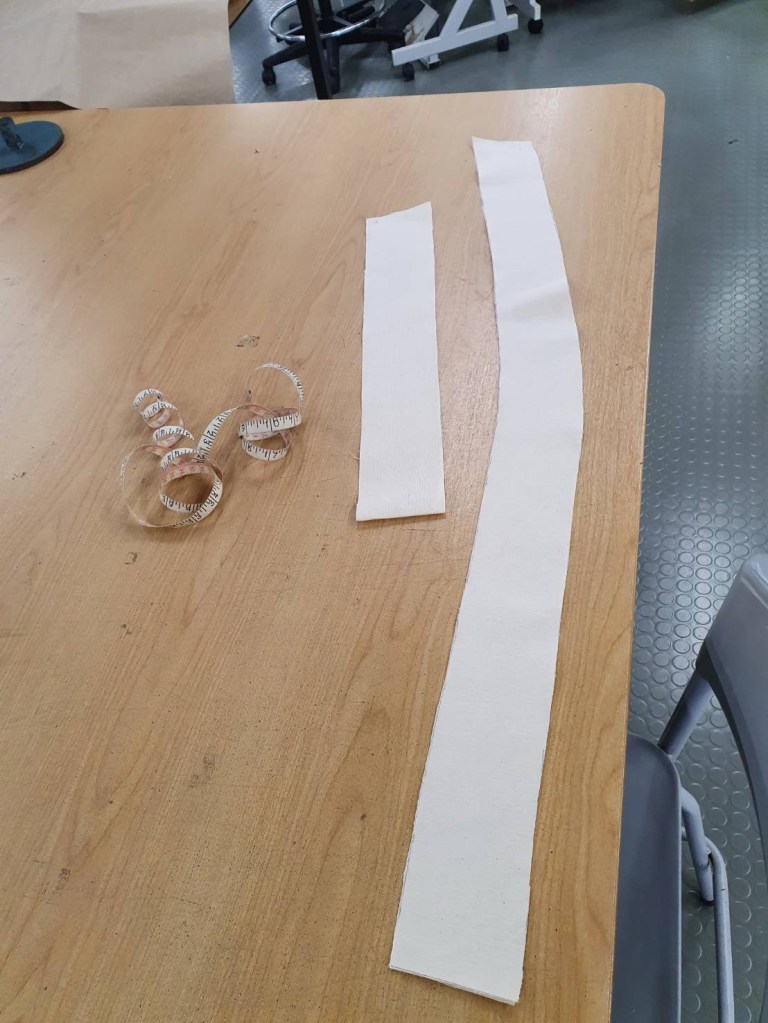
I designed my band exactly the same curve as my coat.
I created the same length of the band for the hood as well.
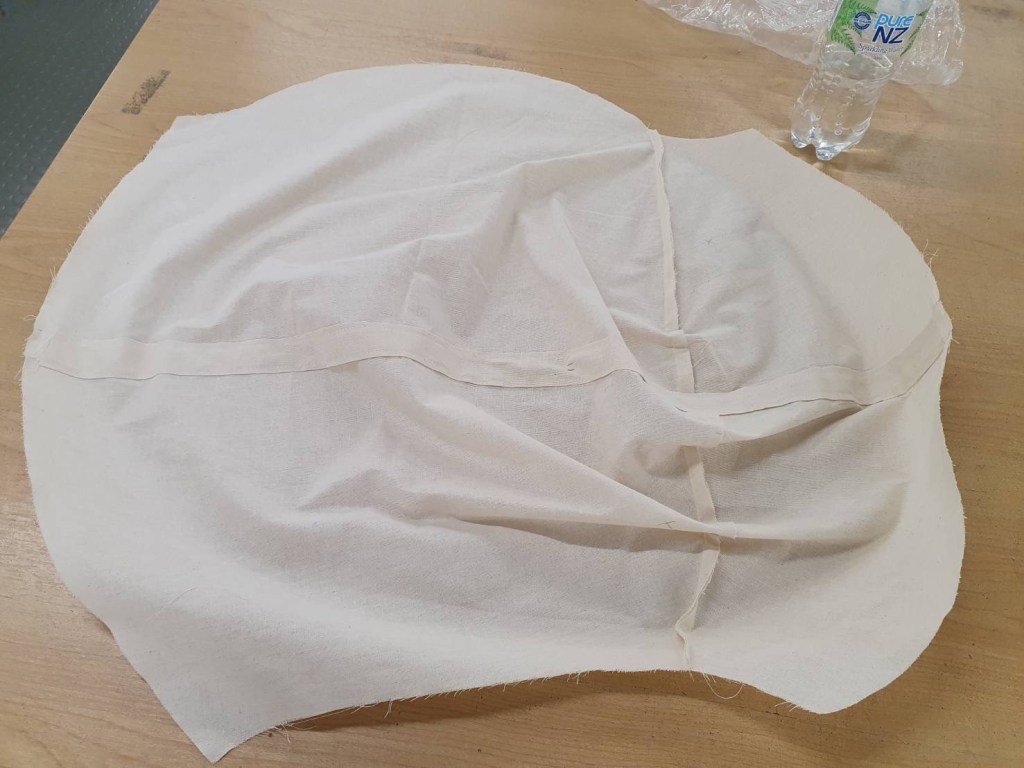
I made a half length of the front coat to test the band whether it works.I joined three of bands together before stitching the whole band on the coat.
Second Development Of The Band
I’ve got a problem with the joined seam is unbalanced.
By figuring it out the joined seam is, make two long pieces of bands and connect them on the top of the hood.
I had added a bit more length on the band, so it looks more like kimono’s characteristic.
Stage Five: The Details
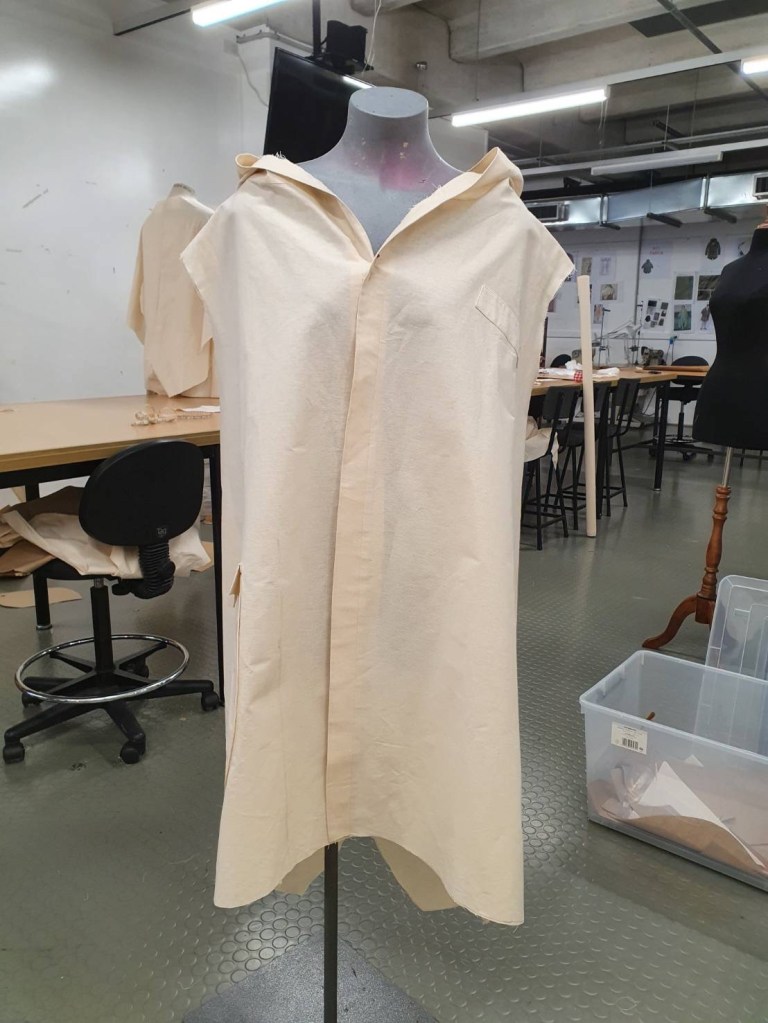
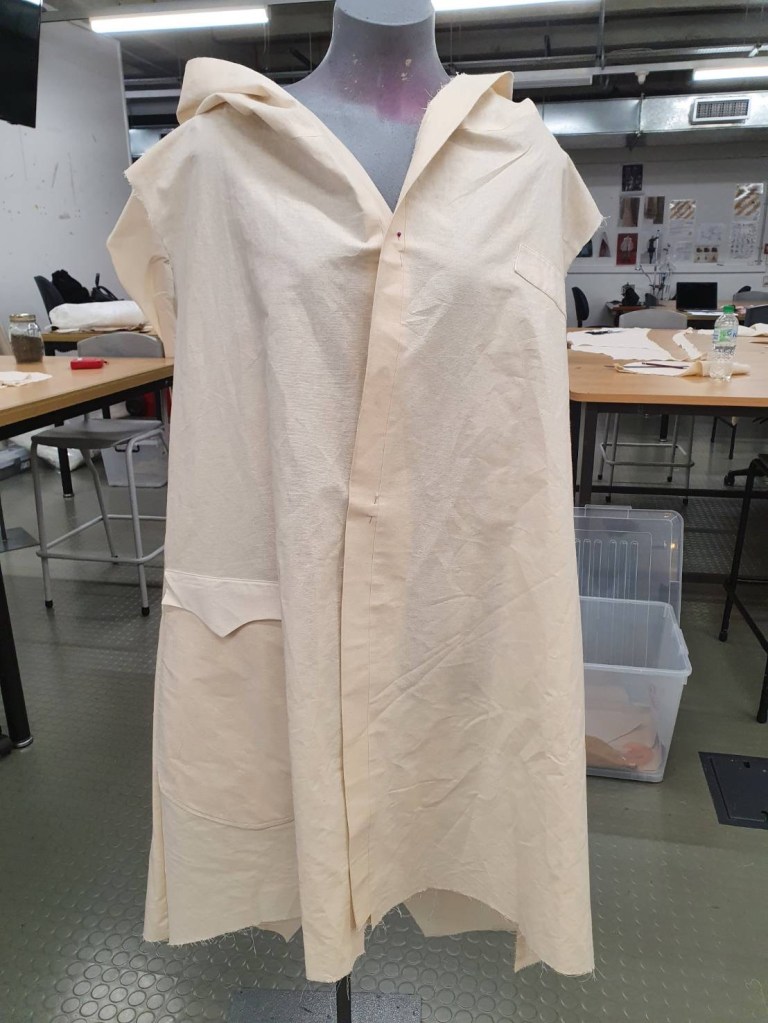
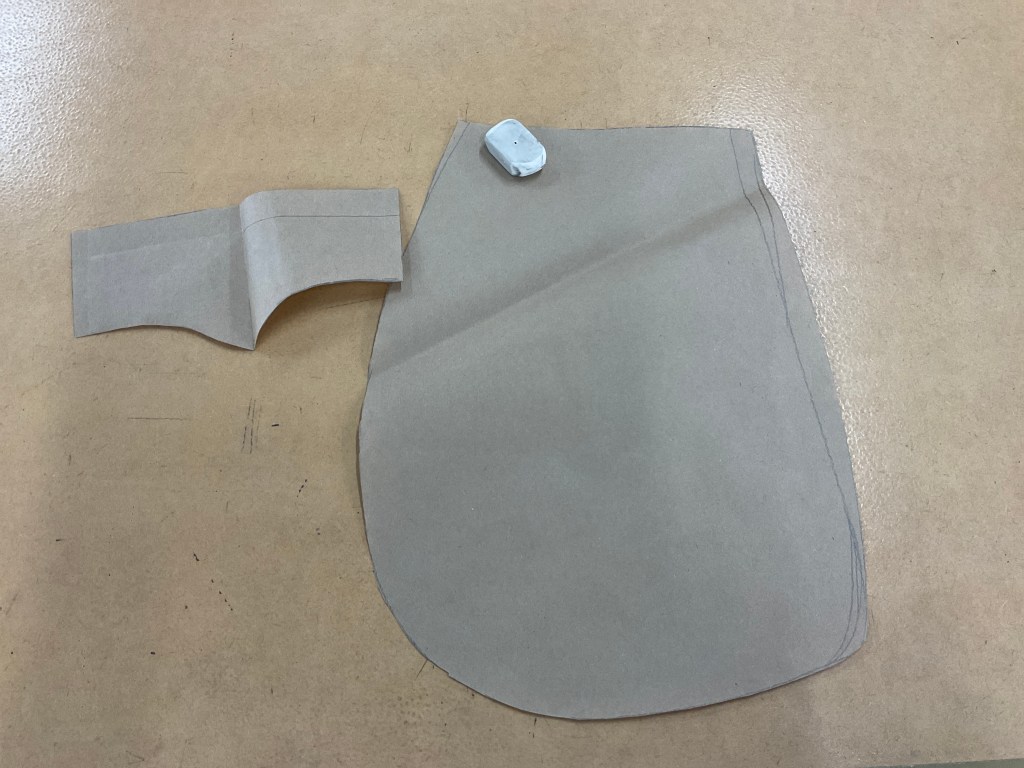
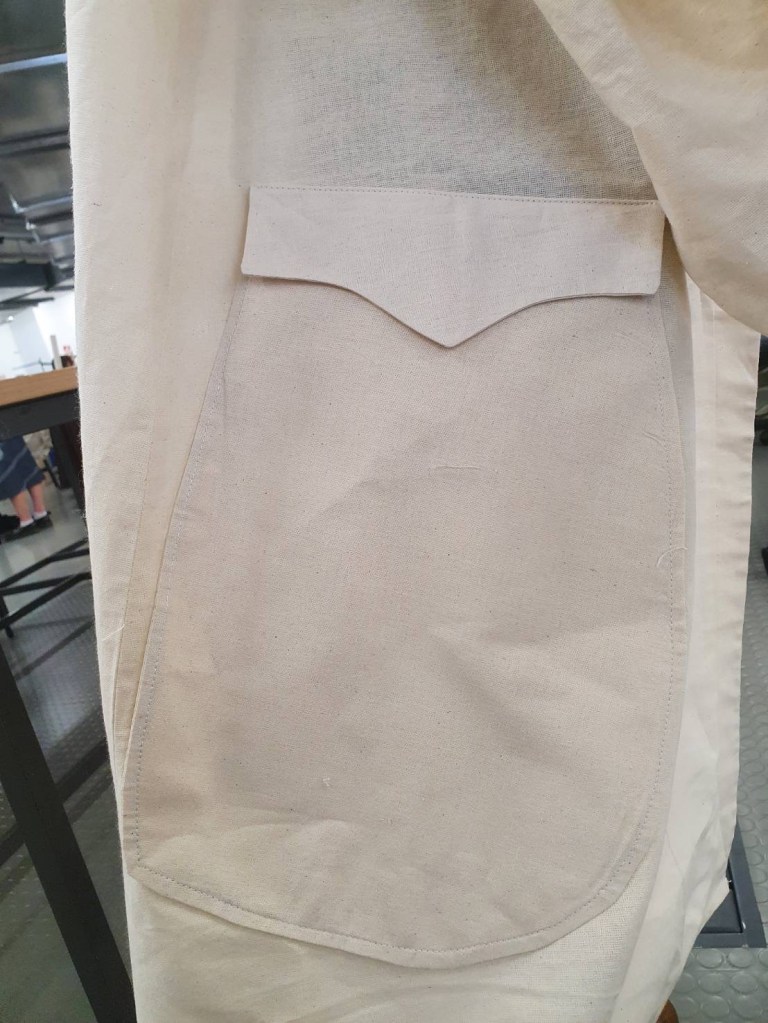
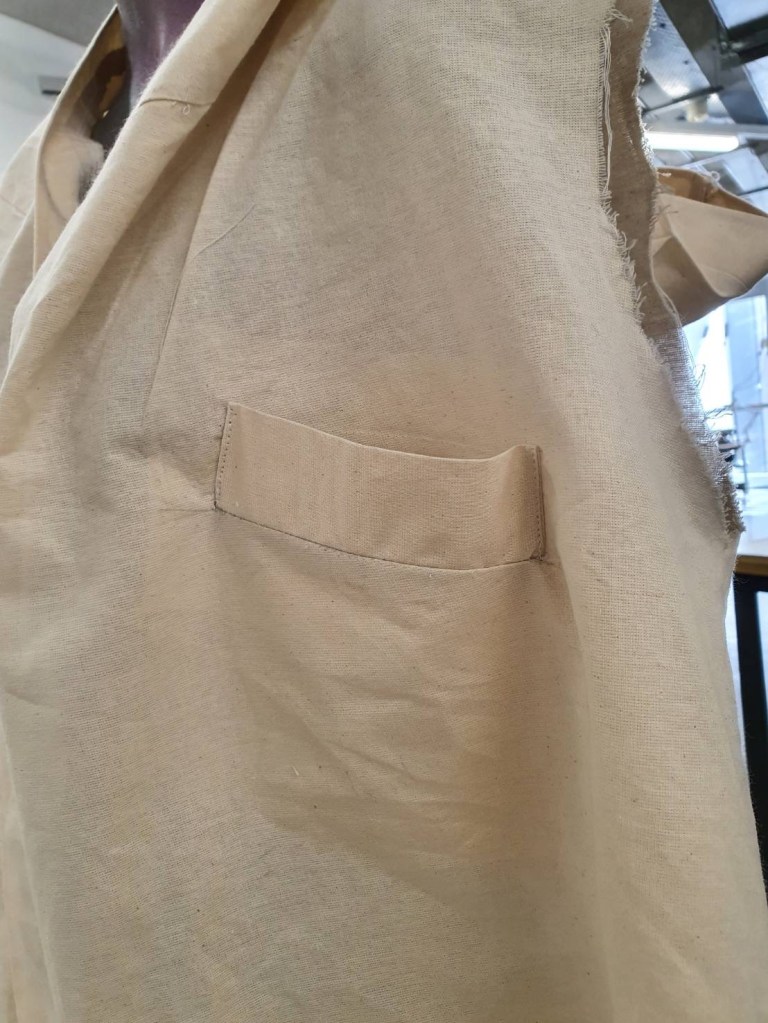
Top stitched the pocket on the coat.
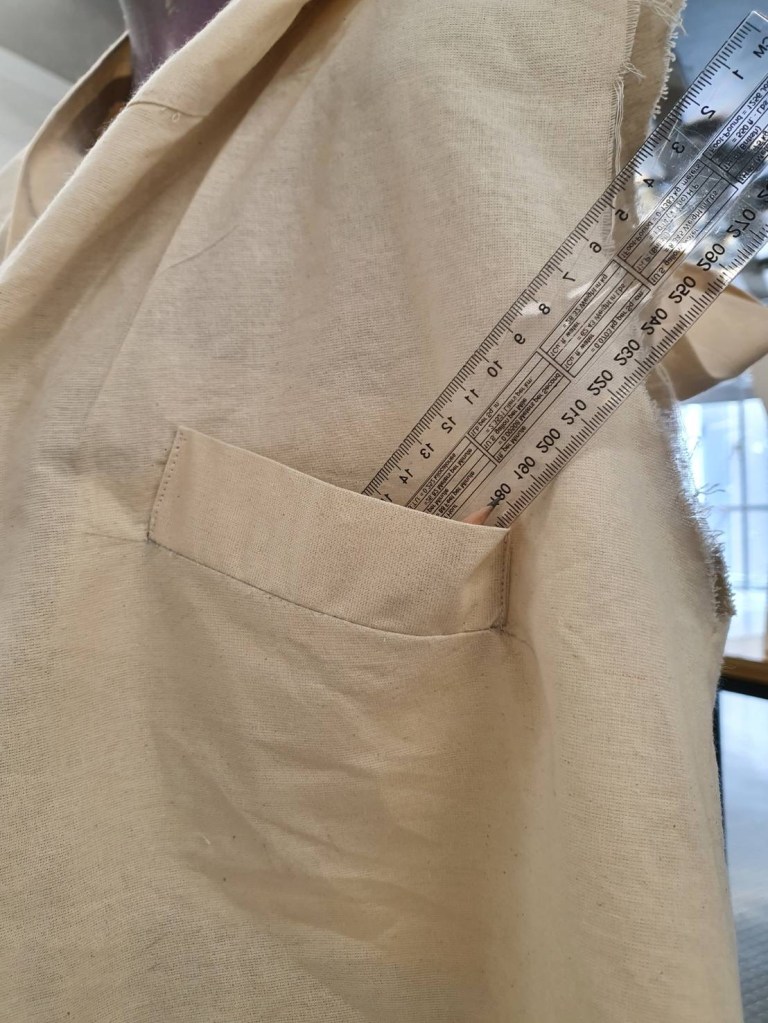
It’s around 30cm deep.
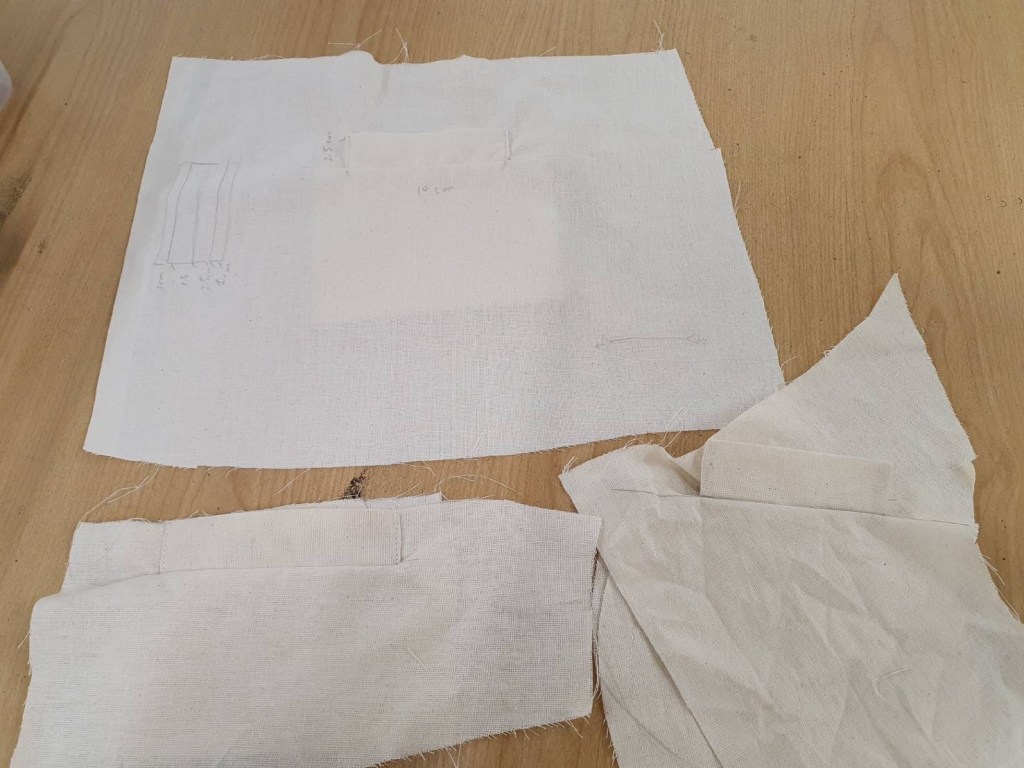
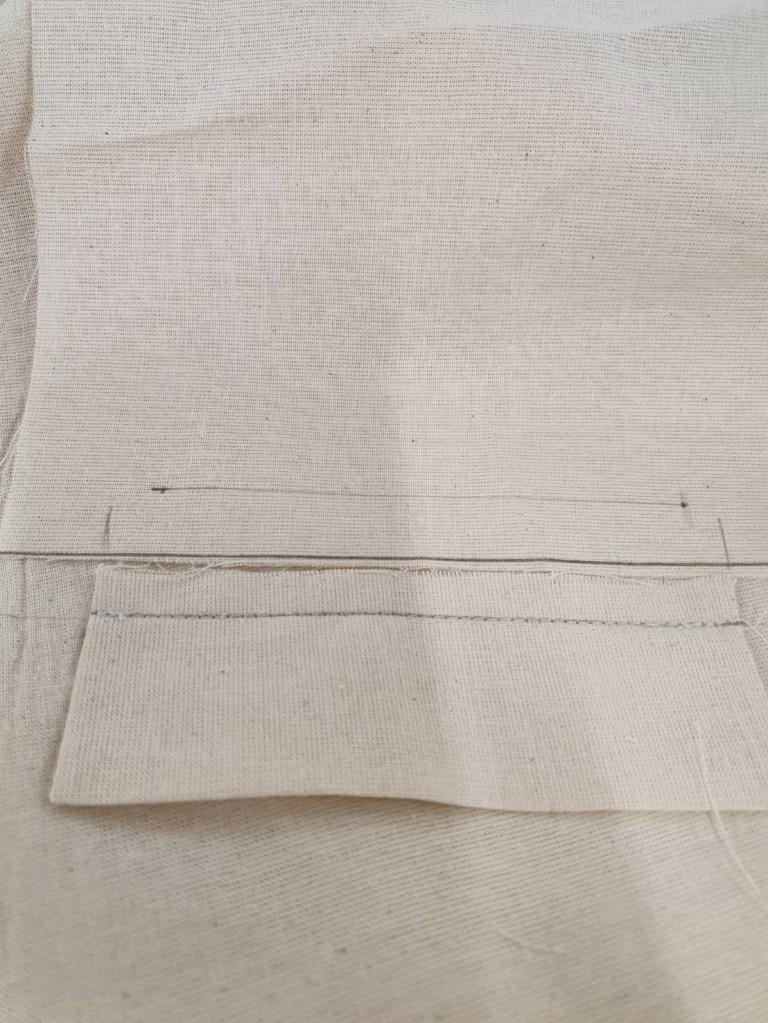
Welt Pocket
Made and practiced few samples for the welt pockets
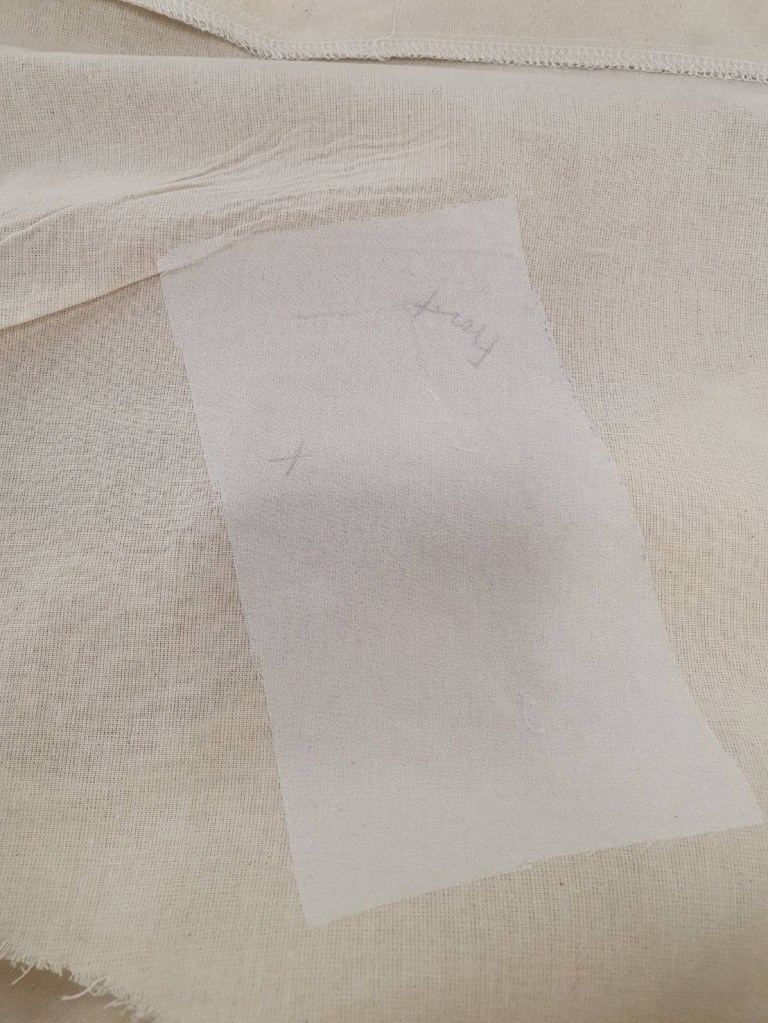
Fusing a little piece on the coat
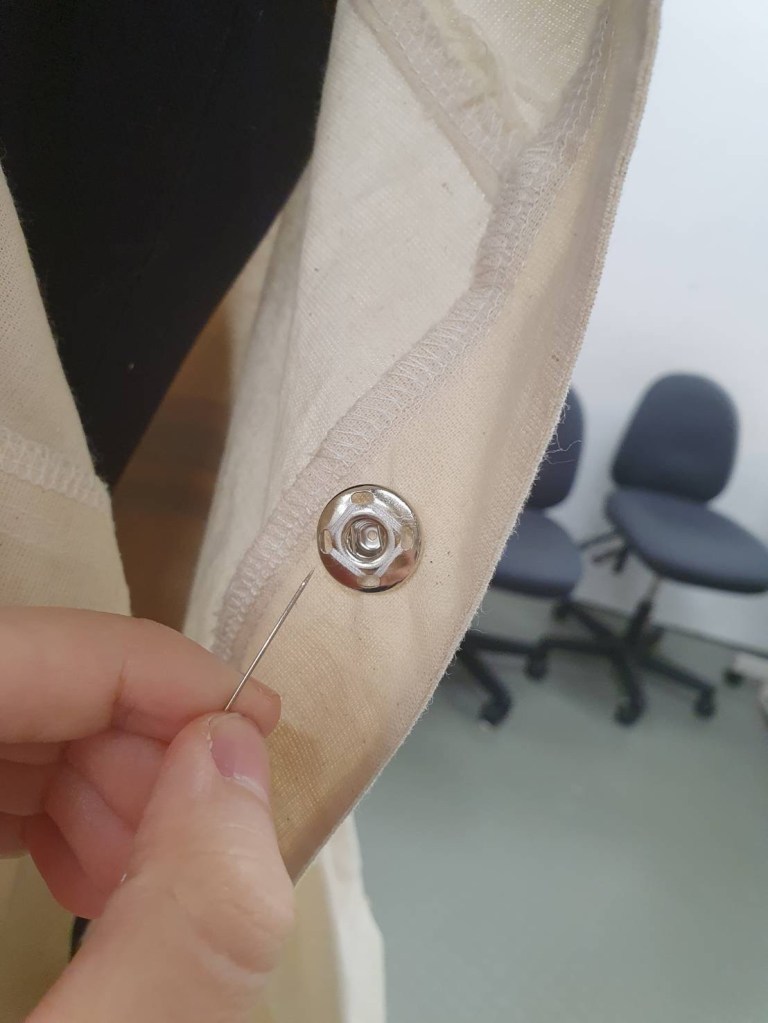
Fasteners Dome
I planned to hand stitched the domes on the coat, however it does not look good and it’s quite loose.
I asked Glina to teach me how to use the dome machine at 7 floors, which helps me to get a better stable fastening.
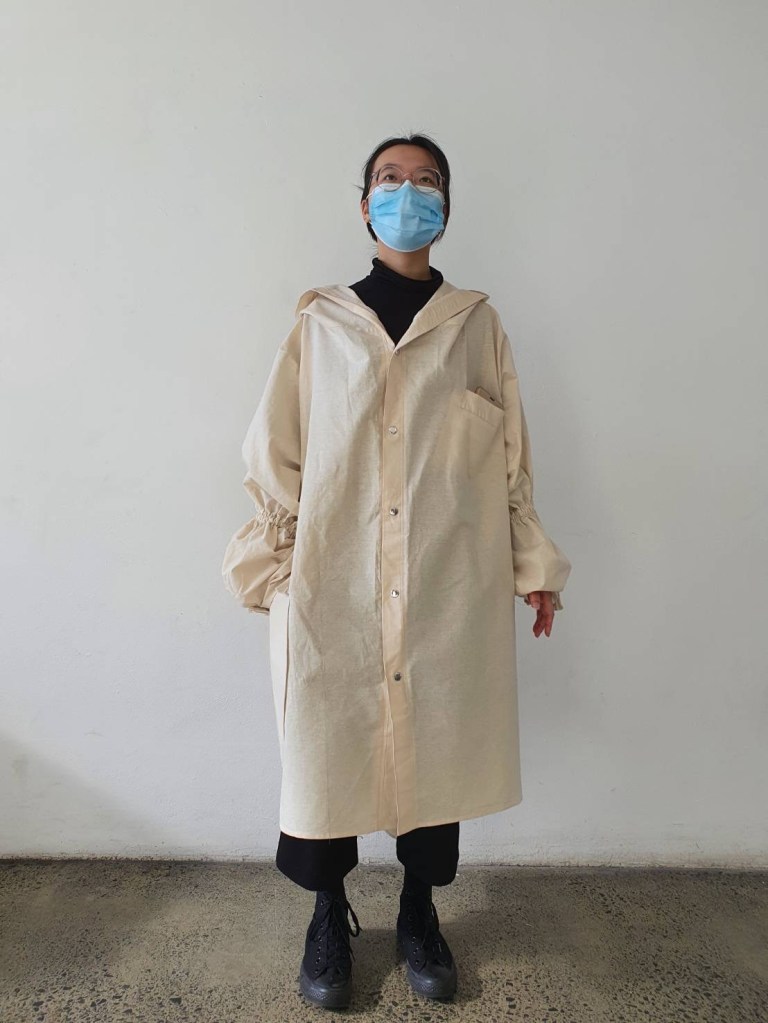
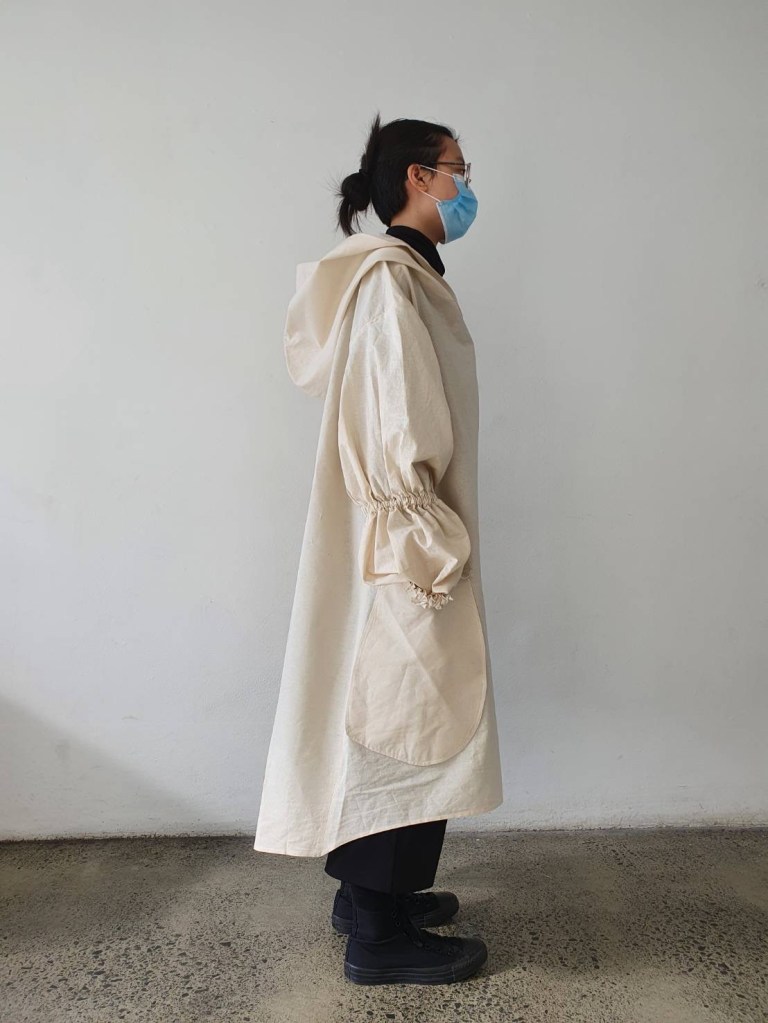
Final Outcome
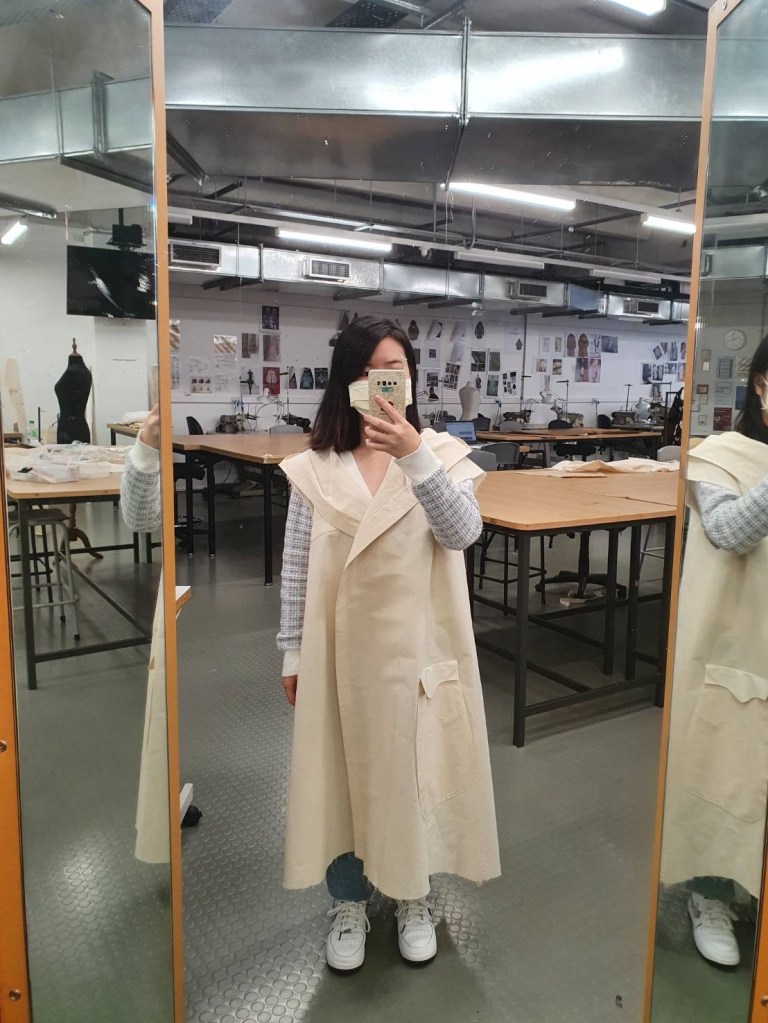
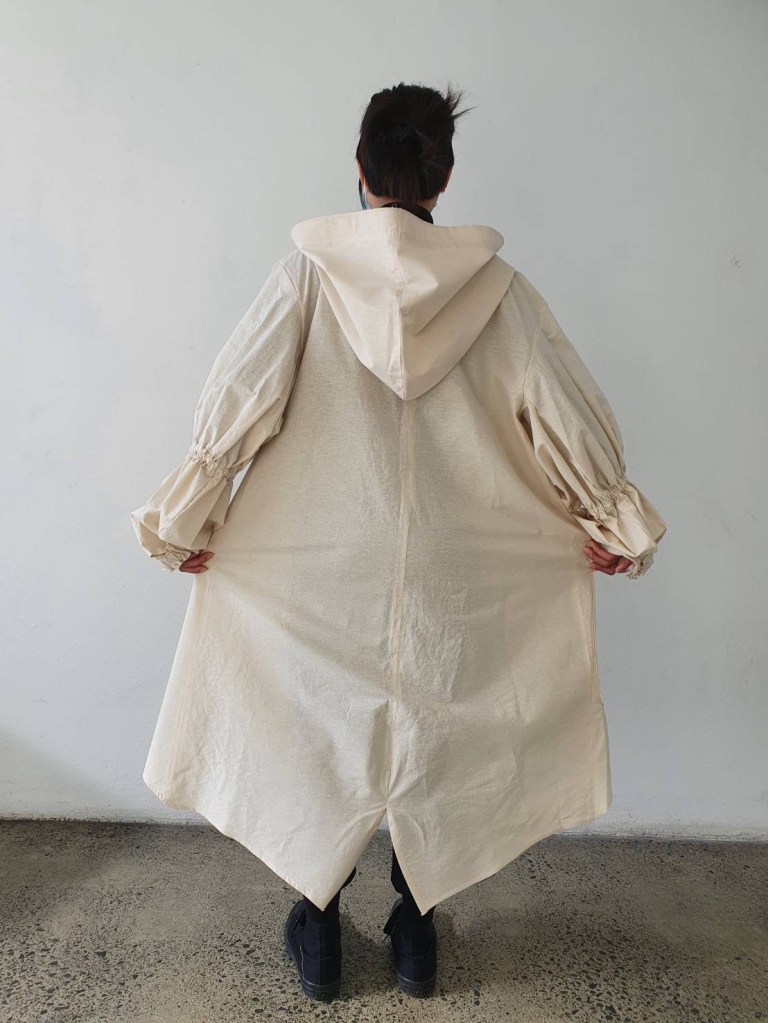
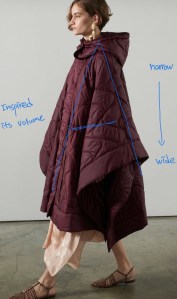
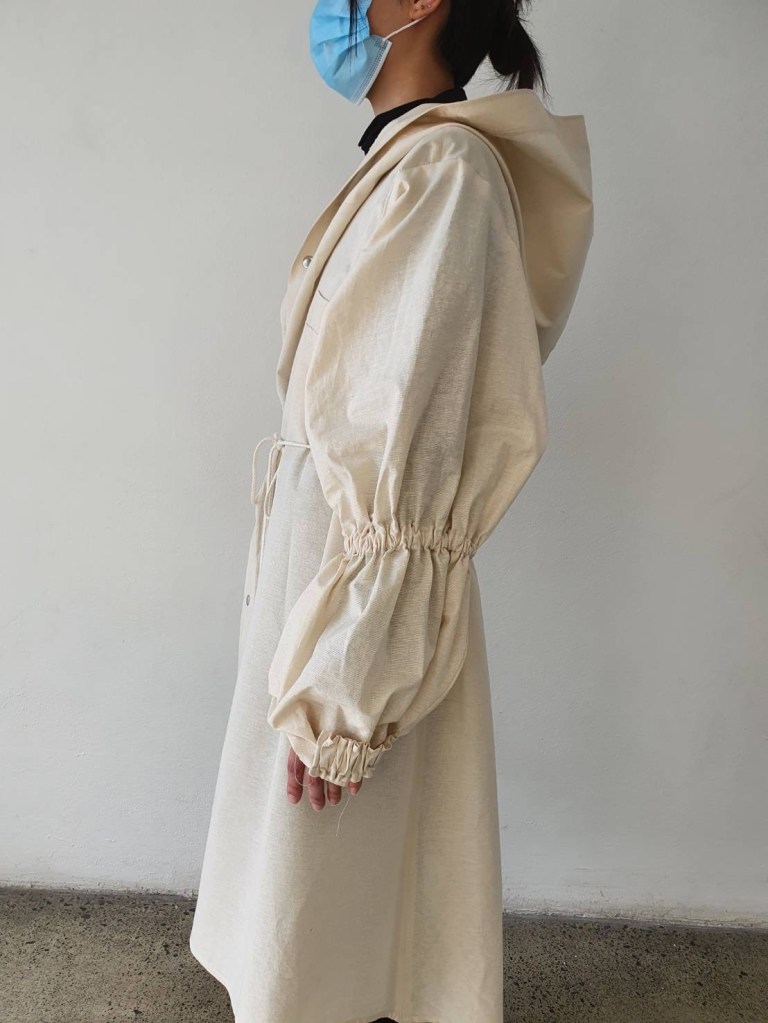
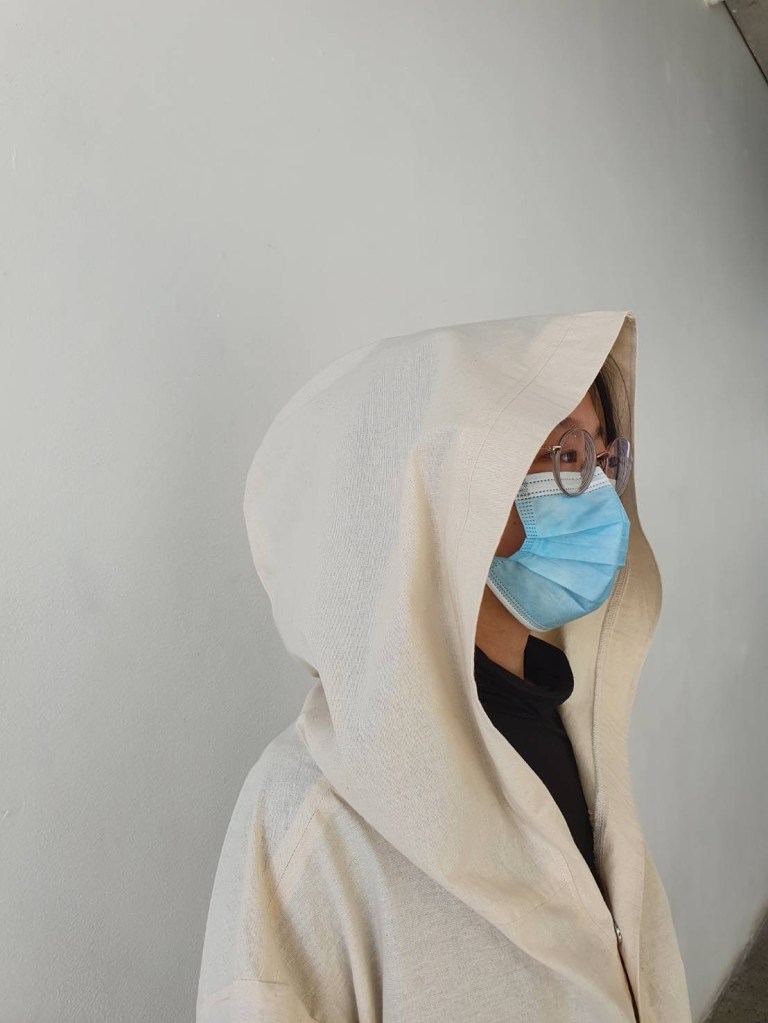
Besides bad stitching, I really like the A shape silhouette of the back. It was influenced by this parka that Stella McCartney created.Design by Stella McCartney
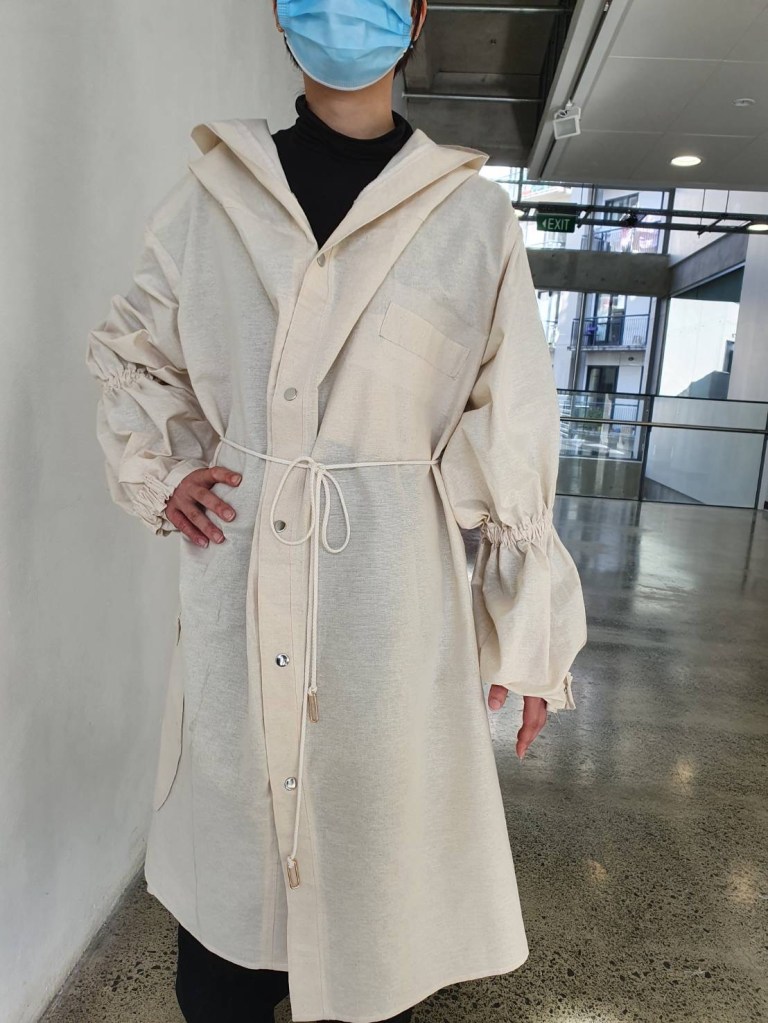
Coat With Tie
When the coat with a tie, it’s better to see the Y opening.
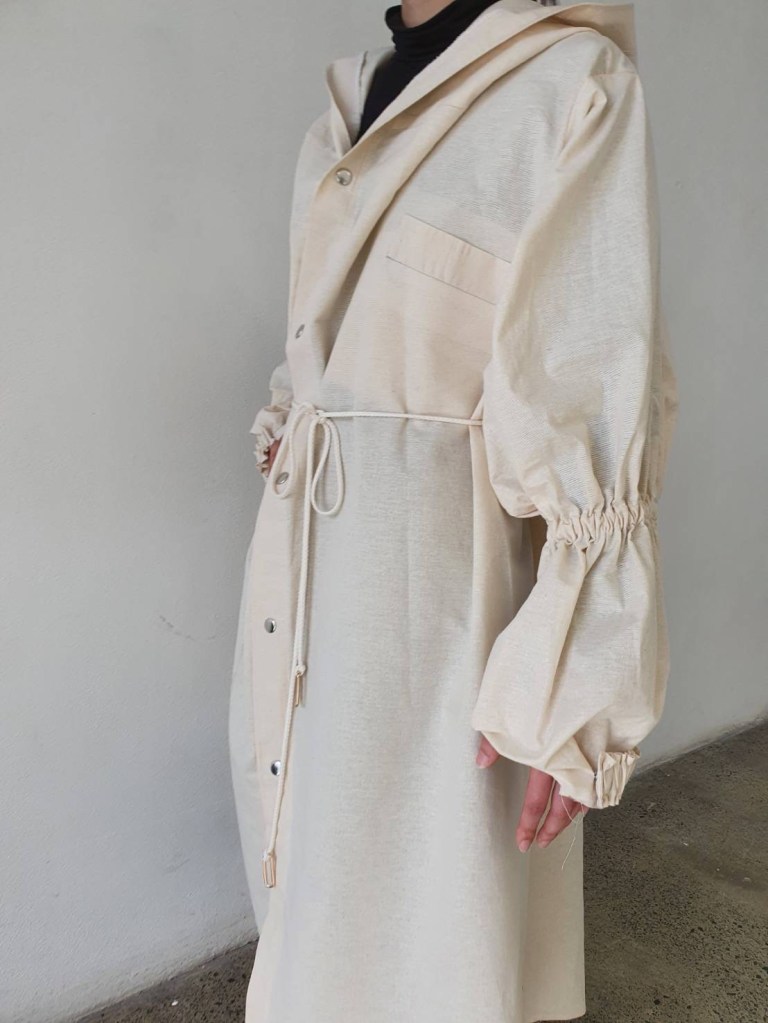
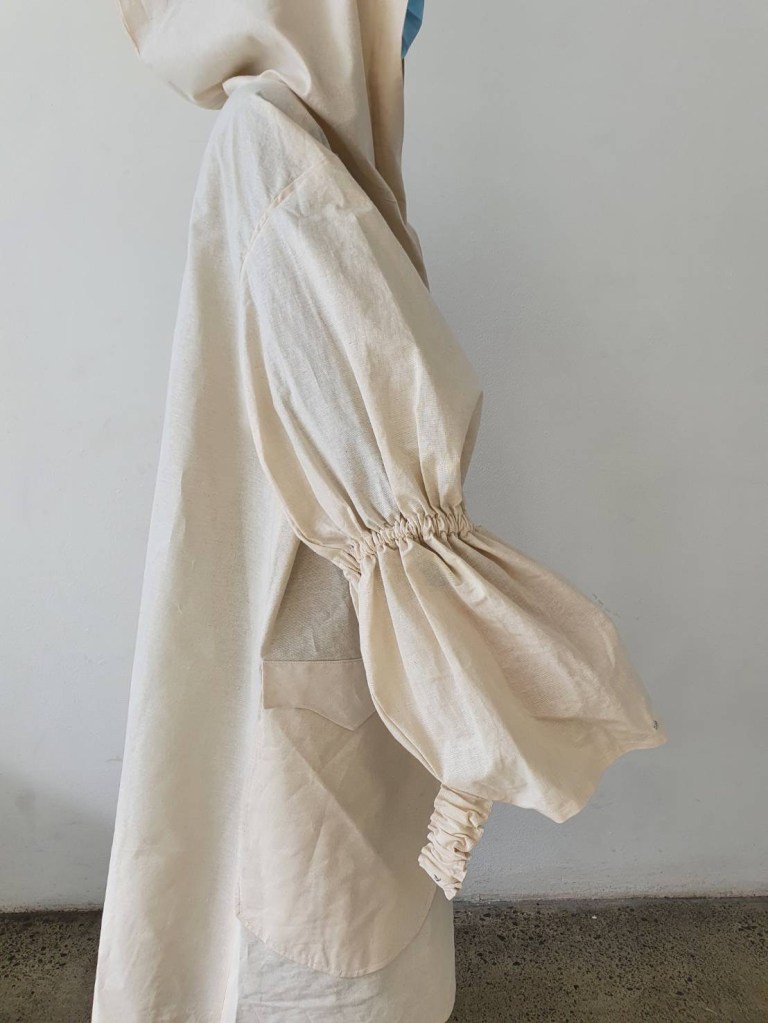
I am glad that I have gathered the wristbands, so they matched well with the gathering on the sleeves.
The Details
The wristbands prevent water to fall in.
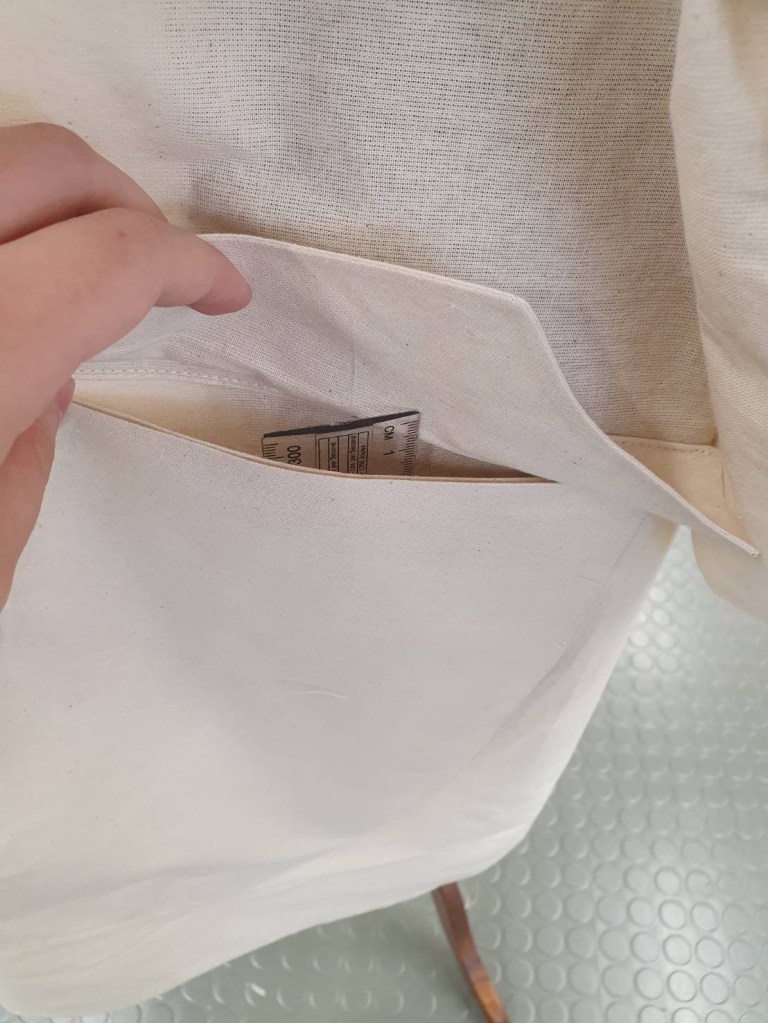
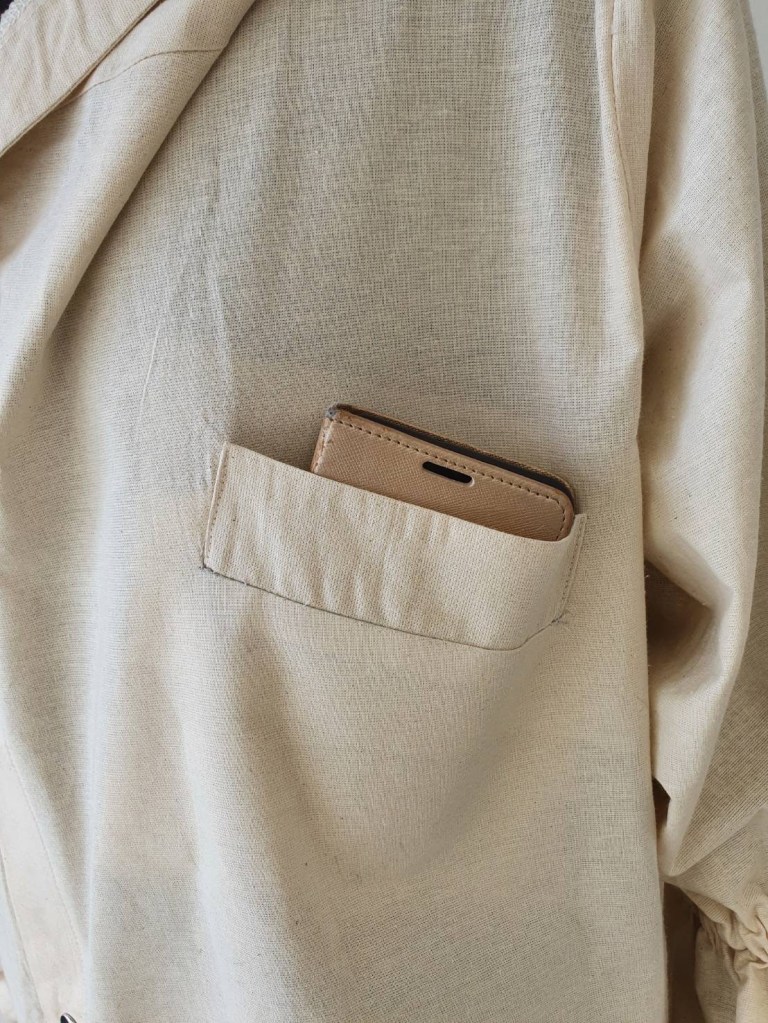
Welt pocket is deep enough to secure your phone.
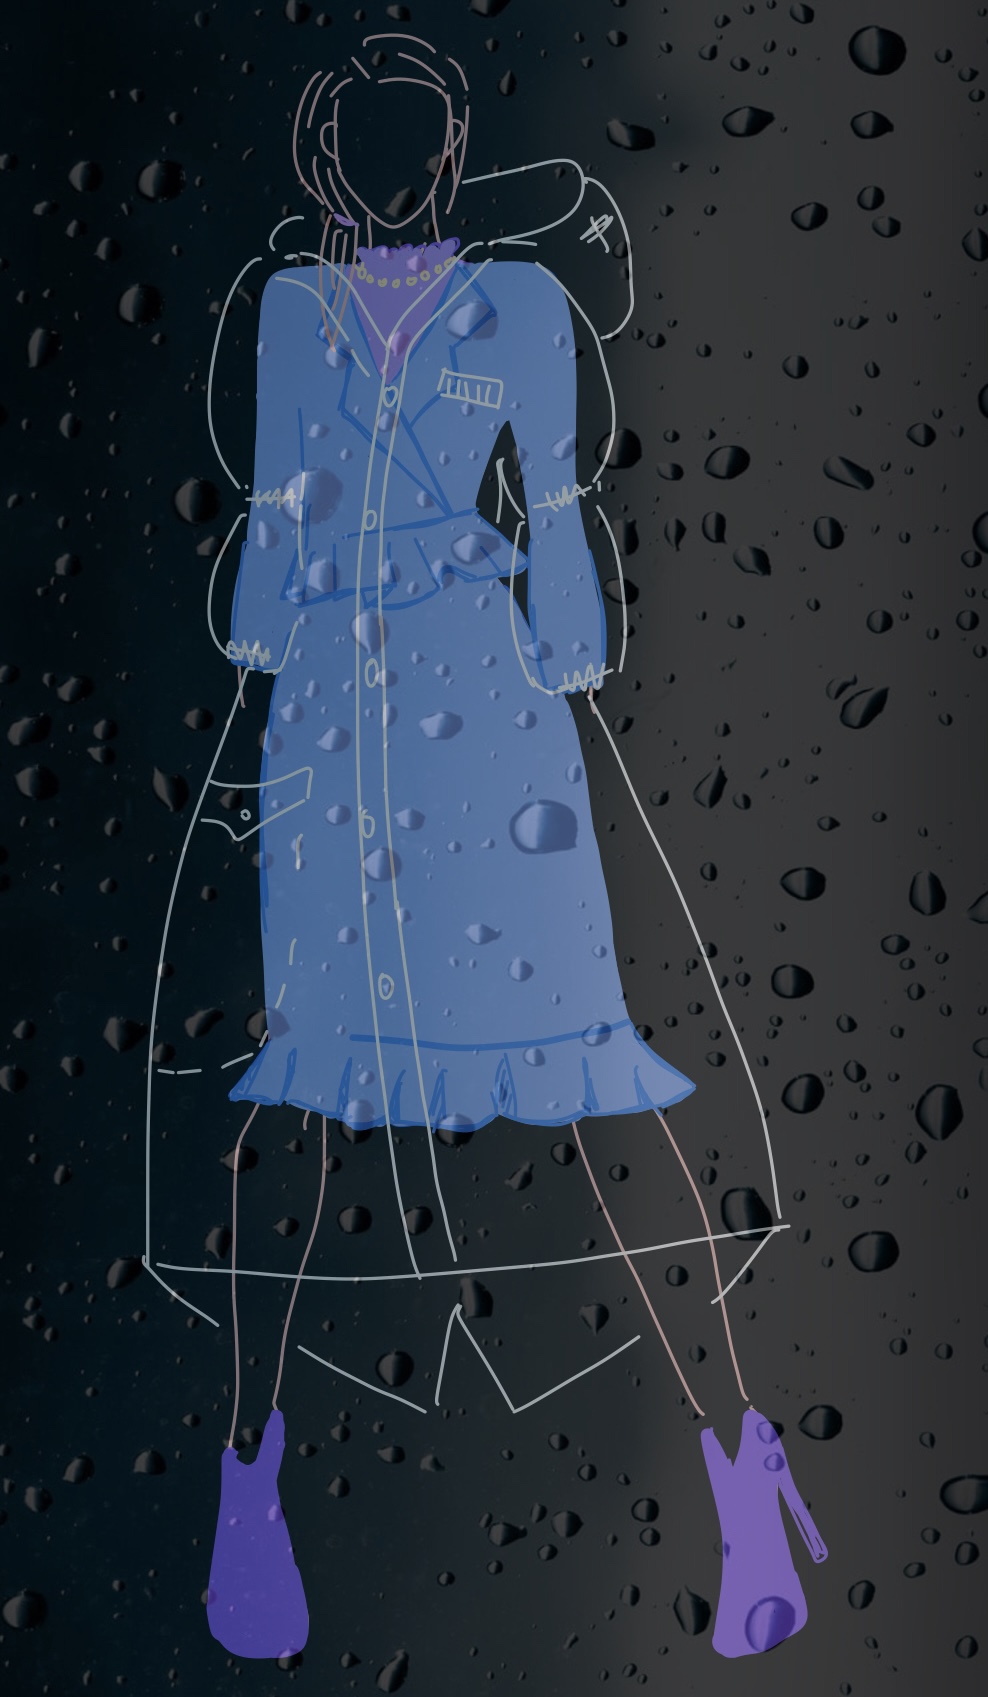
I would imagine my garment was worn by an office lady and on a rainy windy day heading to the office. She would wear a cropped blazer with a godet skirt, and a laced high neckline shirt inside.
The fabric material would be PVC fabric or voile fabric as they are strong and waterproofed.
Final Evaluation
During the past few weeks, I’ve had many different excitements and frustrations with my project. I did not have much knowledge about pattern-making before. In the pattern making process, precious experiences were gained through recreating the patterns repeatedly. I’ve realized what the sleeves pattern, hood or coat should look like and how important those notches are. Honestly, it was frustrating that I kept forgetting which side matches which one. However, when my design was turned into a 3D version, I did feel that it was worth all the effort. The project was challenging, but I have developed problem solving skills and improved my patience.
 Site Title